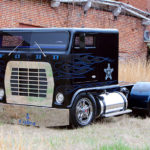
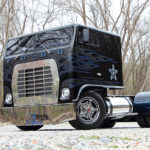
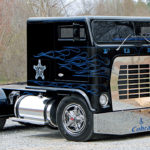
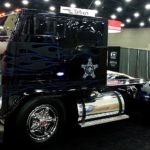
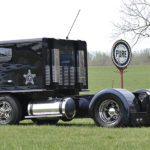
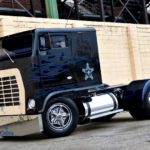
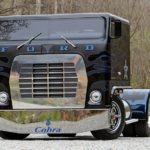
This truck belongs to a celebrity rather than a trucker or trucking company. Normally we’d only show trucks that belong to truckers, but I think everyone would welcome this truck and driver to a backyard barbeque because it’s owner, “American Trucker” TV personality Robb Mariani, is very enthusiastic about the trucking world. This is his truck, a Ford W9000 cabover that was photographed by Daniel J Linss.
Both Mariani’s grandfathers were truck drivers, Rudy drove for Yellow and Gateway, while Emil drove B-model Macks for Schlitz, delivering beer to bars – which is how he met Robb’s grandma.
Featured music of the day:
To subscribe to this musician, click the red button:
Mariani really liked from childhood the movie “White Line Fever” from 1975 and the “Blue Mule” Ford cabover that co-starred.
Mariani found a Ford W-Series semi truck and bouth it. It had previously served in the 1970s on the Tennessee Highway Patrol, then it hauled cars around a lot, and had only 53,000 original miles in 2003 (it’s a 1974).
The customization of the Ford semi went like this, according to Daniel Linss at Ten Four,
“Robb, Brad and a handful of others transformed the old W9000 into an amazing rig, which Robb describes as “the workin’ man’s hot rod” – partly because Robb considers himself to be a workin’ man, and partly because the Ford W9000 was not a fancy truck – it was a worker.”
The trucking publication said the truck was the first Ford to be on the cover of the magazine in over 20 years of business. Not only that, they sort of didn’t even attempt to describe all that was done to the truck. It “would require several more pages” they wrote, noting that the interview with Mariani had been 4 hours long. They outlined the mods and the final product:
“Looking for that true “hot rod” look, the guys chopped thirteen inches off the top of the truck, took nine inches out of the rig’s original Reyco suspension, and then shaved off all of the door handles and vents for that clean look. Extensive modifications were made to the cab and chassis to get everything lower and cleaner. The battery boxes were removed (the batteries were relocated to a compartment between the frame rails) so the fuel tanks could be moved forward as far as possible, the air intake for the Ford’s original 290 Cummins was removed and replaced with a custom louvered rear cab panel, a window was cut into the back of the cab, and 79 holes were plugged and filled in the frame. A square dual exhaust system was fabricated from scratch, along with custom steps and mirrors. The side wind-wings were also removed from the doors and replaced with one-piece electric windows.”
Then, among other customizations, they added the paint to the ford custom semi. Linss also pointed out the Dayton chrome-plated wheels and how these help to give it a 70’s semi cruisin vibe.
Ok, this truck almost doesn’t even look real in these photos against the corn fields and trees of Wisconsin, partly due the the great truck beauty shots by photographer (and writer/editor Daniel J Linss). These photos really are something.
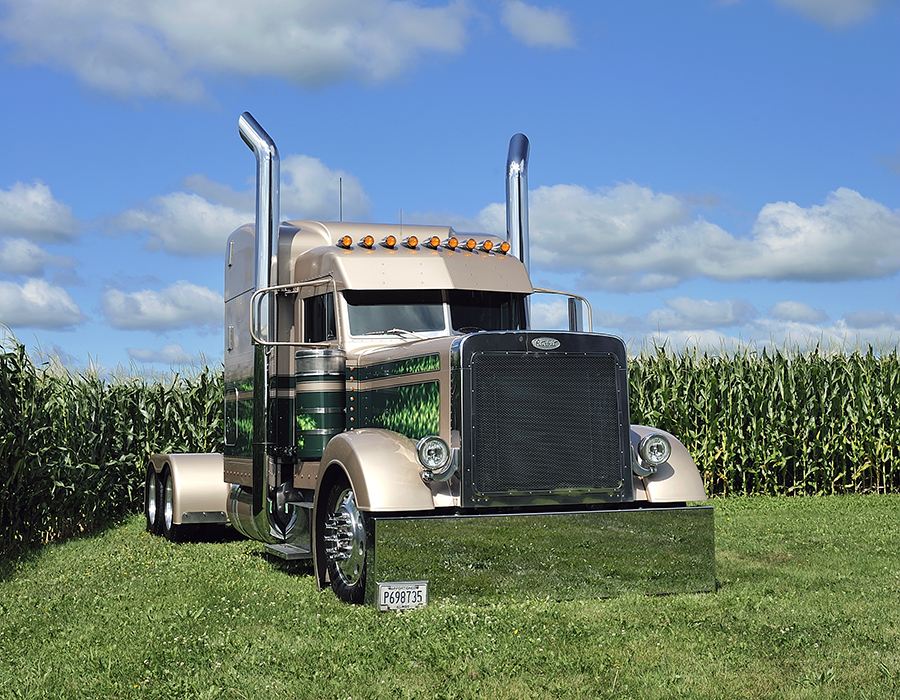
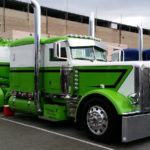
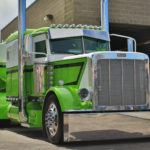
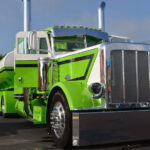
Now on to the truck. This truck was built by the owner, not by a shop (not to take away from the shops, who provide us with most of the show trucks we enjoy all the time, but it is interesting and commendable for an owner to take on the work of a project him or herself). The owners are Kenneth and Barb Fisher of Muscoda. This truck didn’t break the bank, either, like a lot of the ones we feature. This is what can be done by any owner-operator on a budget with a bit of ingenuity and I bed a good deal of hard work.
This 1997 Peterbilt 379 as it is now started when it got wrecked (the hood) and the Fishers started to get a few things done to it while getting the re-spray.
As Ten Four Magazine’s Daniel J Linss reported,
“Since they were going to re-spray the paint anyway, they had the air horns removed from the roof, added Fibertech cab and sleeper extensions, and prepped the tanks for paint, too.” They had intended to go with mocha pearl paint stripes of green, but the son of the owner wanted to add “read fire” flames to the custom semi paint job. Although they were not sure at first, after seeing the green fire with the stripes, the parents liked the paint addition, and even went so far as to add more to other parts of the Peterbilt.
Ten Four outlined the custom work done to the truck, listing all the companies responsible for the work:
“In addition to everything else that has been done to this truck over the years, it also has custom mirror brackets from the Victory Lane Chrome Shop in Westminster, MD; a custom shock box from Valley Chrome; window “chops” from RoadWorks; an oval-punched grille from Big Rig Chrome Shop in Oshkosh, WI; stainless steel step boxes from Elizabeth Truck Center in Elizabeth, NJ,” a company that did the custom work on several trucks we have here on Blogunity vehicles.
One thing: the truck still has its factory wheels. But most of it does change. “Ken and Barb don’t want people to get bored with their rig,” Ten Four wrote, ?so they try to change things as often as possible, when they can, to keep it fresh and new.”
With a few more touches, the Fisher team was ready to enter their Peterbilt 379 green corn-land beaut in shows, contests, and get featured in magazines and online blogs and sites.
Some other modifications over 13 years of ownership:
Use the screen and sponge method of felting. It holds the fibers in place and keeps the fibers from sticking to your hands. It really helps make nicer even felt.
Watch the amount of soap and water you use. Too much water and your fibers float away from each other instead of felting. If water pools between your fingers when you press down, then you have used too much. This is where the sponge really helps. You can better control the amount of water you use and keep it to a minimum.
Is more soap better? Nope. You will create bubbles that separate your fibers so they can not lock together and felt. Really, you only need a small amount of soap.
Don’t press too hard at first. Gradually adding pressure will make your fibers felt better and create a more even felted wool.
Keep your water as hot as possible. If the water gets cold, add more hot water. If this is going to cause a problem with too much water, soak up some water with a towel before adding anymore to your fibers.
Fulling Stage
This is were you will make or break the felt you just made. During fulling you are removing air from between the fibers making them tighter fitting. If you don’t tighten the fibers, your project will pill and shed until it falls apart.
Which fulling method is best? It’s not the method, it’s whether you complete the fulling process. So just pick what the best method is for you. How do you know when it is done fulling? If you pull on your felt and it stretches, it is not done. You must felt it until it is firm.
Keep your water warm while fulling. If you can, full in your sink or bathtub so you have access to hot water during the fulling process.
Finishing
When you have finished the fulling process you need to completely rinse out the soap with cool water. Leaving soap in could damage the fibers making them brittle or they may even disintegrate over time.
Just gently squeeze out excess water. Never wring. To speed up drying time, roll your felt in a towel to remove more water.
Let dry completely before adding anything else. Wool has an excellent memory. It will hold whatever shape you dry it in. A full 24 hours is needed for your wool to completely dry.
Now that you have mastered the art of wet felting, your projects will be high quality. Friends and family will love receiving your felted gifts or, if selling your felt, you’ll have satisfied customers. Now go on and create great felt!
Visit the website for free wet felting instructions. Debby McCandless raises alpacas and has wet felted many projects. Free felting projects are offered on her website.
Blogunity published this McCandless article with permission to do so.
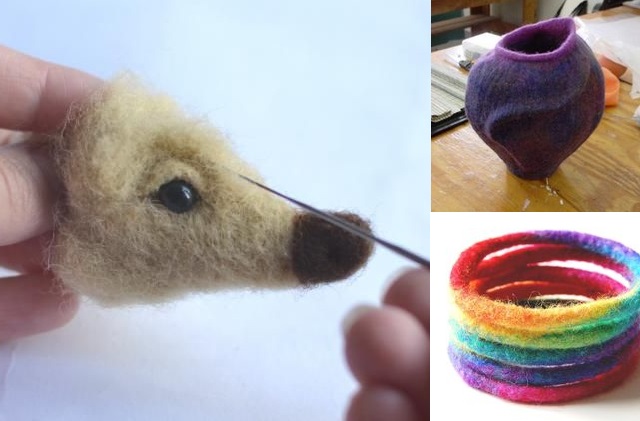
Wet felting is different from needle felting because it uses water to bind the wool together.
Has your wet felting been less than satisfactory? Or maybe you haven’t tried it yet and want to make it right the first time. The following tips will help you master wet felting wool.
Blogunity published this McCandless article with permission to do so. See credit and link at end of article for more by McCandless.
Fiber Choice
First, you need to select the right wool for felting. Some fibers don’t felt well at all. Try felting alpaca wool or merino wool. A little more expensive but the finer fibers felt up very nicely. Other medium sheeps’ fibers felt well, too.
When you choose your wool, be sure the staples are of uniform length. Your finished project will be less hairy and shed less. 3 inches is a good length.
Test the fiber by felting a small sample to see if it will be satisfactory for your completed project.
Layering
Lay your wool at 90 degrees to the last layer. 5-6 thin layers is actually better than 2-3 thick layers. Your layers will be more even and your fibers will felt better.
Check your layers to see that there are no thin spots. This one inspection will go a long way to making sure your layers are even and will prevent a lot of problems in your finished project. You’ll have to toss the felt you just made if there are too many thin spots or waste a lot of time going back over it with a felting needle and fiber to fill in thin areas. Save yourself some time and do it right the first time.
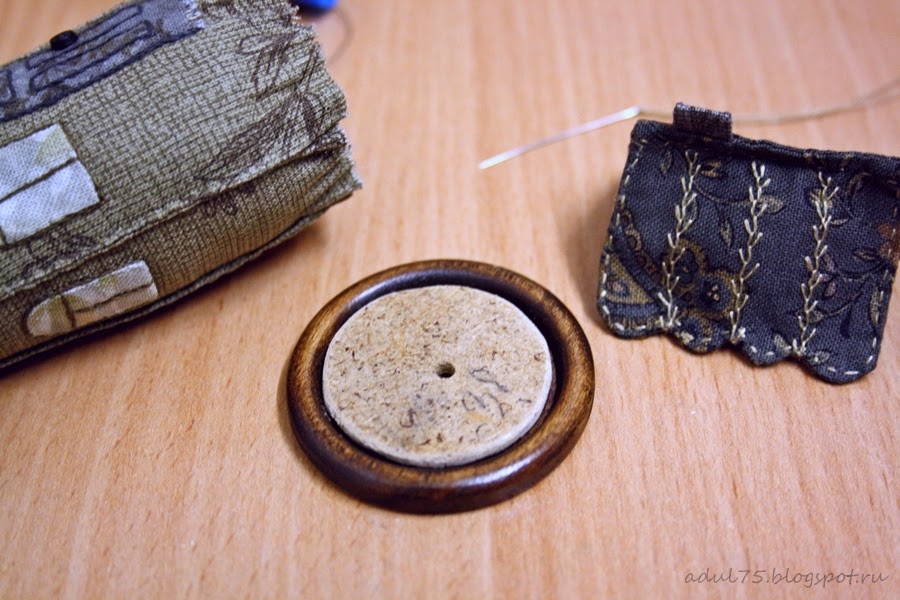
This is what they call a “mini Japanese house,” although of course the house can be from anywhere you want to style it after. You can make all different sizes, and create little villages. You could, if you wanted, do a craft sew of your whole street. All you need is patterned fabrics (or even unpatterned fabrics and you could if you wanted draw or paint them, or just leave them plain) of your street, village, city, downtown, farm, park, whatever. (If you do this, please send us a photo and we’ll post about you).
In general, this house is good because it can make it very simple or more complex, with many small details or without bottom, with hard work and carefully style rags … So what can you do as I am or not at all, or bypassing particularly difficult places… any form would be nice! You can hand sew or use a machine if you’d rather. If you don’t have a machine, take a look at the top rated Juki sewing machines as they’re good for beginners.
1- Let’s start: carve out all the details of the fabric in the right quantity, shapes and sizes. I’ll make the roof separate from the house, so to carve out the two halves of the roof and a common fabric piece for the inner side of the roof. Windows may also be any number. Do not forget to make a large allowance from the bottom parts of the walls, then these allowances form a bottom.
2 – Sew and gut-wrenching detail of the pipe.
3 – Take the two parts of the roof (halves) and sew on the upper edge, putting a pipe between them.
4 – now stitched detail add up to the pipe with the third part of the roof “person” inside and sewn round.
5 – If you make a roof with wavy edges, it is necessary to process before a reversing edge to scalloped edge of the roof were turned out beautifully. Or make a roof with a straight edge and skip this step.
6 – to turn the item, cut across the whole piece in the middle.
gut-wrenching, gently straighten all bends, do carefully to the threads with the allowance is not stretched out.
7 – putting off the roof and undertake the wall. Windows, doors and other small details can make applique (in different ways), or simply embroider for example. I chose the application. Cut item on a soft surface and “rolled” on the pencil line. For this operation to work with wheel-cam has a special mat, it is very expensive, and someday I will have it and yet I just planted down a few layers of rags.
Now take a textile glue stick and coat with in the places to which we “lay down” allowances. This adhesive is a temporary fix.
8 – Details to be pinned to specific locations and sew them very fine stitches.
9 – After all the fine details sewn, can be supplemented with all the decorative stitches, but you can not supplement.
10 – Now sew house, with your own custom level of gut-wrenching decorative stitching on the edges.
10 – Now a few words on a wooden base. I had the option, which can be seen in the previous photo, but I tried on the house and it seemed rude. Therefore, I opted for appropriate buttons.
To make the bottom, take a thick cardboard, It is necessary to drive in the inside of the basis for the needle bed quite freely.
11 – Fill the needle bar and pull the bottom of the filler, investing in a disc.
12 – Now you have to paste bed B basis. I thickly smeared with glue inside of the buttons strapped with tape and left the house for the night.
13 – It remains the case for the roof. Sew the blind stitches to the side of a triangle and ready.
Sew it is quick and easy. As a reward for your efforts will get a very cute little thing that decorate your life.
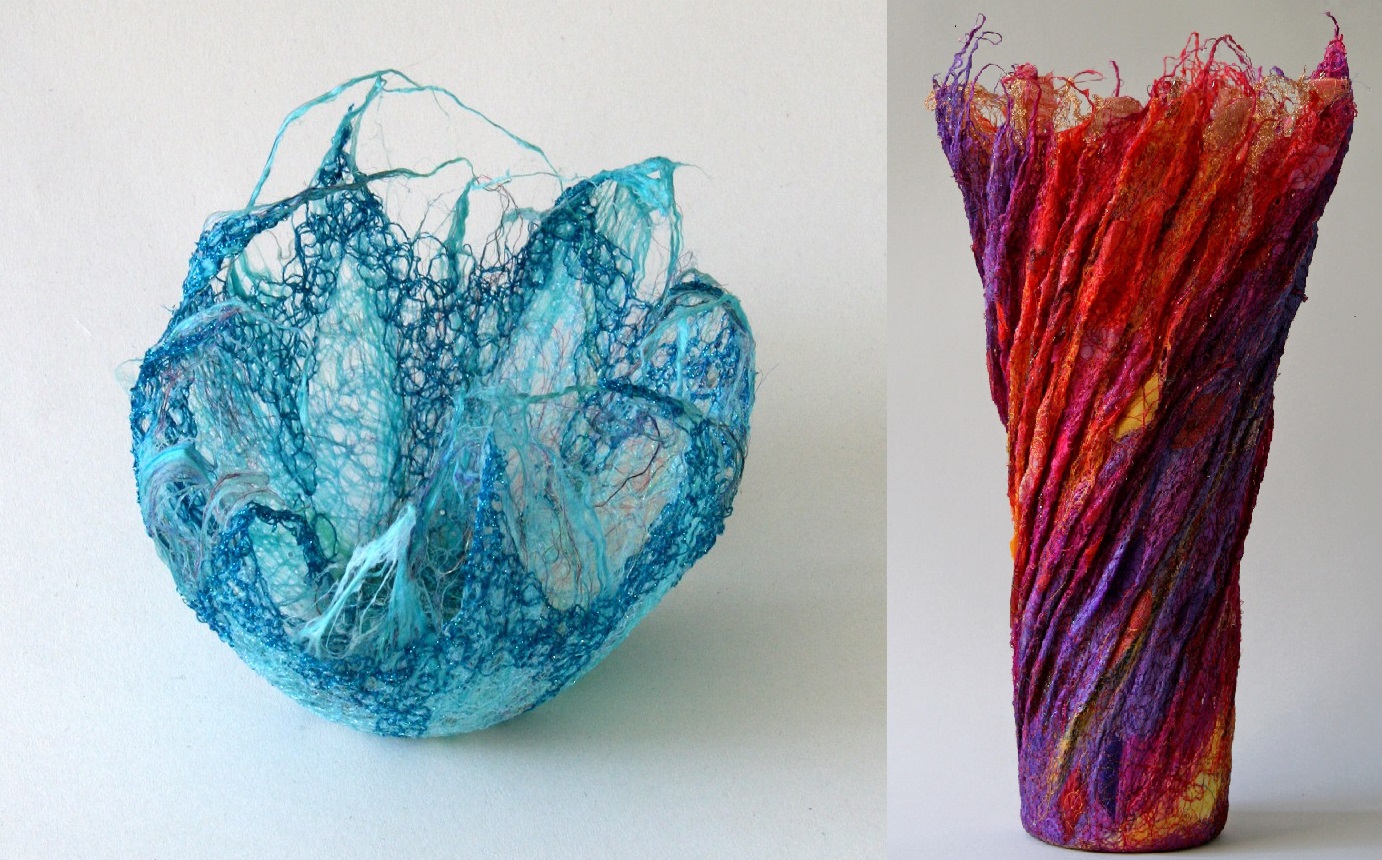
Would you like to make 3D cloth vessels like these? This is part of the textile art crafting hobby that has produced a very wide variety of designs and creations. The vessels pictured here are the work of textile artist Jo Hyam, who also does 2D art with cloth, and you can see it’s not only the form, but the color, Hyam is interested in.
Here’s how she describes the process of making these 3D textile crafts:
“These 3D pieces are made by sandwiching silk fibres and tiny pieces of fabric and textured threads between layers of soluble film, which will have been cut to a pattern shape.” Elsewhere on the Blogunity site, we have tutorials written on how to wet felt and a bunch of things about the craft. Just go to menu and type “wet felting” into the search box.
“This sandwich is machine stitched copiously, before, possibly, adding more layers of fibres and stitching again,” Hyam continues. “Most 3D pieces are made up of two separately stiched layers stitched together before the film is washed away, leaving a completely new double-layered piece of lacy cloth. I may add hand stitching, beads, or glitter.
The process involves making a thick sheet or shape of felt fabric by taking felt, tearing it apart, putting those tears together, wetting them, and pushing them and rubbing them together, so they sort of mat, the way hair mats when you twists and fray it together.
“The damp cloth is then placed over a mould, eg a vase, a medium (such as varnish) added, and left to dry; the more shaped, ruched or folded pieces will be dried with a hair drier to set the piece before being left for up to a week to dry completely. A piece takes many hours of skilled work to make, after pattern design and cutting, and general design work which may also ‘mull around’ for days, weeks, even months.”
She’s not kidding about the time. Even basic wet felting projects take a lot of time. You can’t just cut and sew one together in a few minutes, even if you’ve done dozens before and know exactly what you’re doing. It’s a time-consuming process to wet felt.
The round blue work here is “Untitled H.” It’s 10cm £35 ($approx 60 USD). Silk fibres, mixed fabrics and threads, machine stitch.
The taller, redder work is “Sunset” H. IT is 38cm £165. Silk fibres, mixed fabrics and threads, machine stitch.
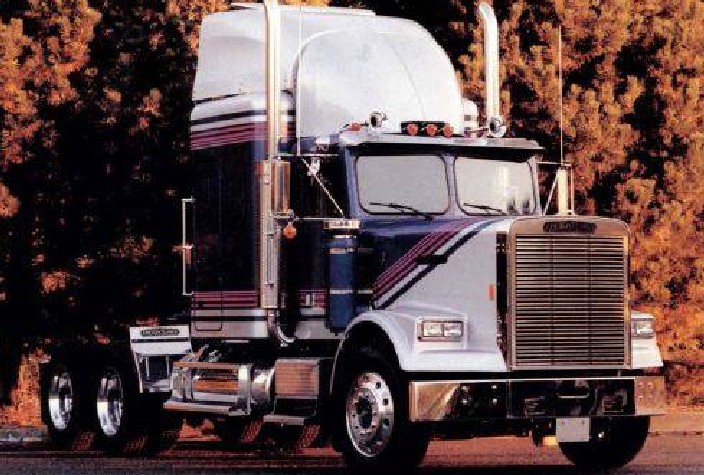
The Freightliner Interstate 200 Limited Edition Truck was unveiled in 1985. The special four color paint design accompanied a 79” Sleeper with 2 bunks, aerodynamic roof fairing and electronics package (including a portable computer, which had less power than the cheapest PDA available today).
It was a limited edition truck. Guess how many?
Only 200 were ever made. The Interstate 200 only came with a CAT 3406 the Cummins 444 was not an option.
And that, dear truck fans and readers, is all that is known on the internet about this limited edition. People, if you know more about this short run of trucks, please write it down and send it over to us. We want to increase our library of just this kind of trucking lore and history. Trucking, like all professions, has a history full of stories.
Custom Beast in Southeastern Canada
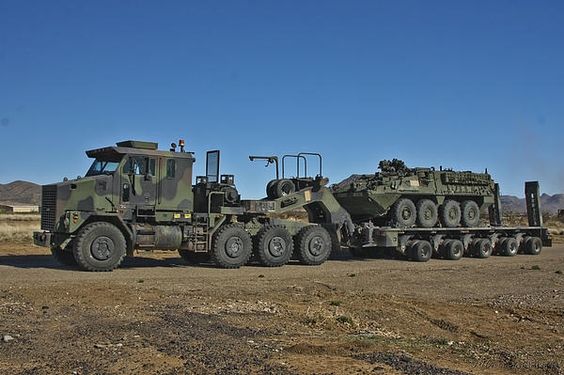
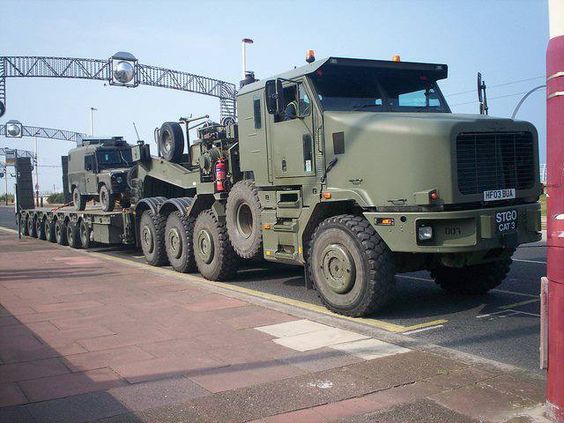
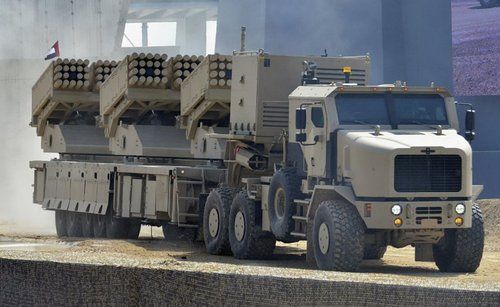
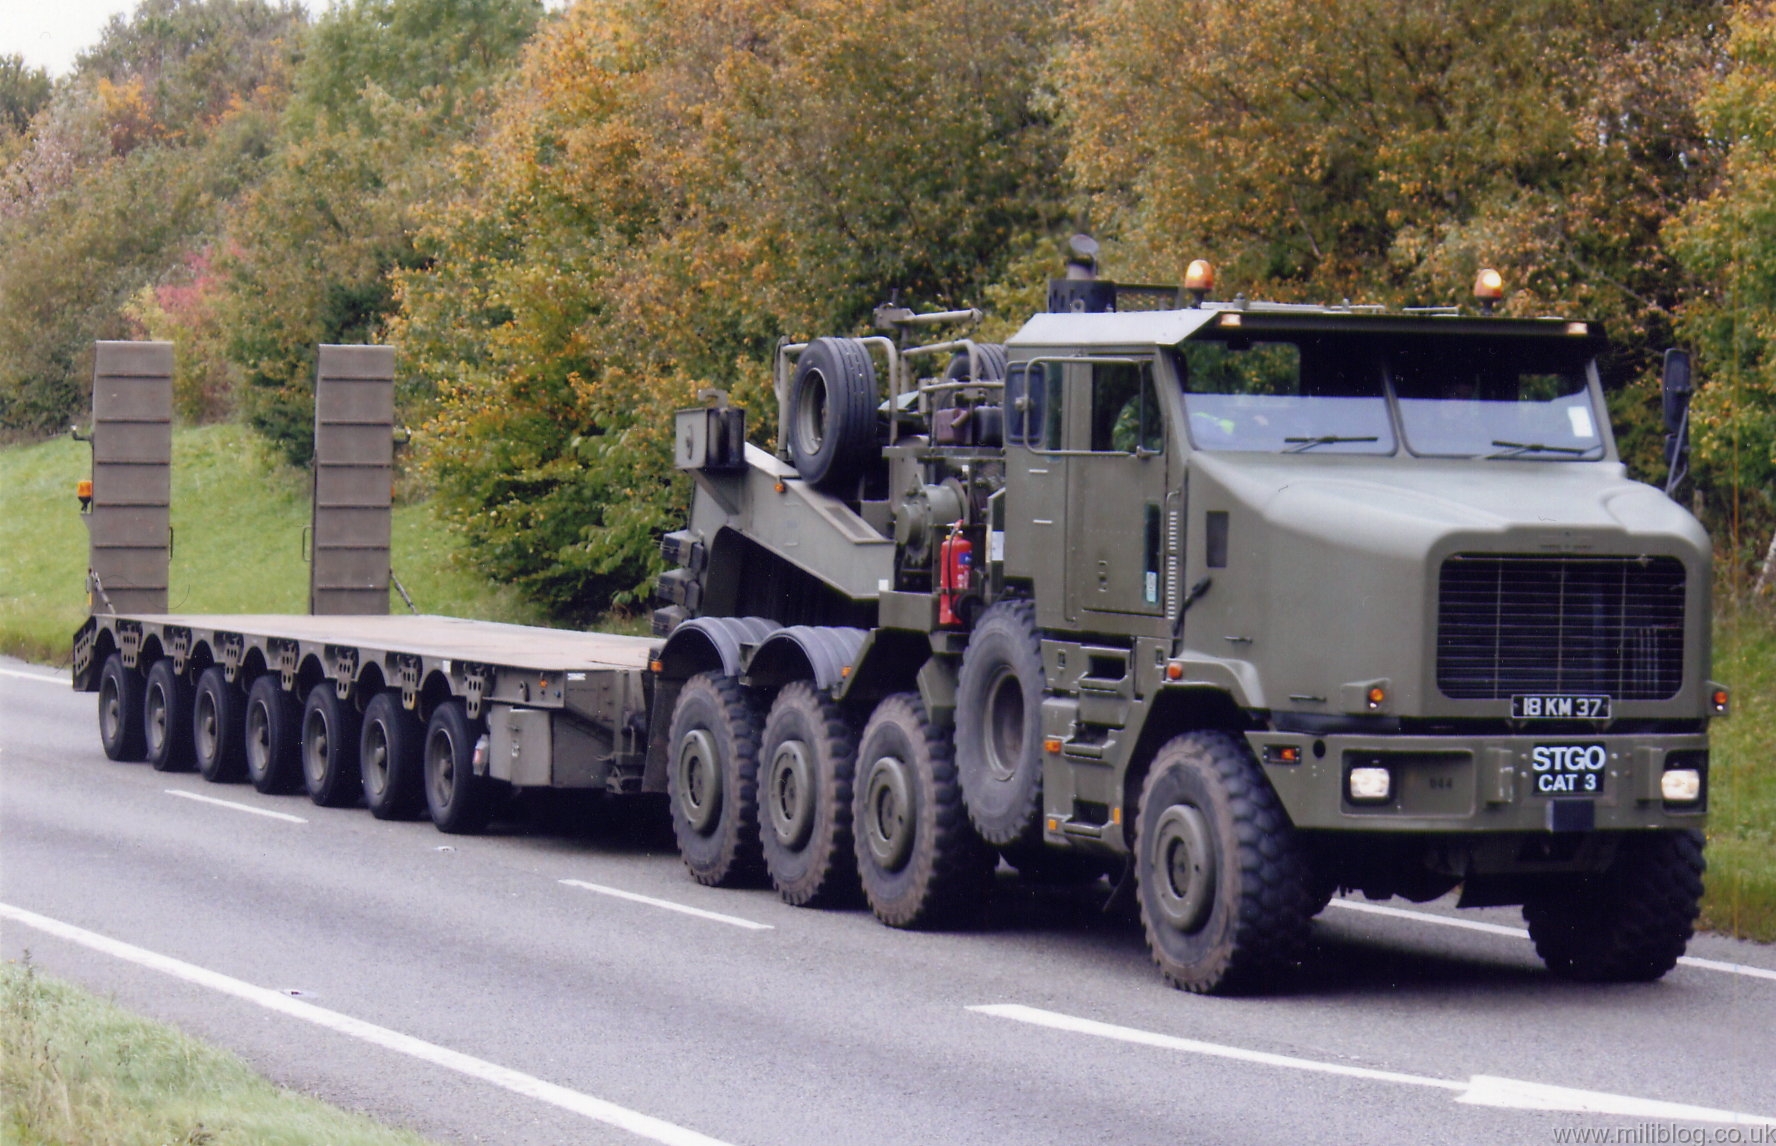
What is it? You don’t see this every day. We see a lot of Kenworths, Peterbilts, Freightliners, Macs, Volvos, and many others, but this one? It’s a HET (Heavy Equipment Transport System) made by Oshkosh powered by a Detroit Diesel 8V92 .. can haul like 70 tons. … 70 tons (140,000 pounds)!
According to the man who runs one:
“My truck and trailer scale out at 58,480 pounds empty. When I have the three axle jeep and two axle stinger pinned on I’m 78,000 pounds empty. I can legal about 230,000 pounds gross depending on which state I’m in. My T800 with 550 cummins pulls it no problem.”
A little about the custom job:
“We dressed it up a little…put square headlights because they are more readily available….and my boss designed the cheese grater grille…which i think looks stupid as hell…but whatever, not my monkey not my circus.”
Apparently, the level of power supplied by these trucks is required:
“Its not overkill when you need to go into the wind turbine pad which is a “site road” which is gravel sprkinled on a farmers field…and with grossing 200 tonnes…you need the snort to drag the trailer…there are 96 tires on that thing. We also have a pair of kw t800s and a western star 4794x with 2 spd rear ends. We use those for the on highway stuff
Even though some might wonder about the amount of work required to do the brakes and bearings and other things on these, according to someone who uses them:
“Made in Germany…we have 4 lines from 1996 with less than 25% of the linings worn off…..its all proportional braking….there are another 36 duals that you cant see on that trailer”
Lime Green Custom Shows the Good of the US Petroleum and Trucking Industries
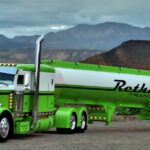
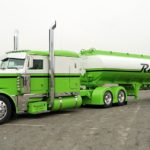
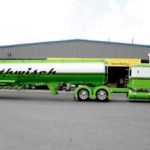
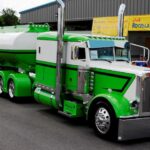
This lime green custom semi petroleum hauler is part of a fleet owned by the Rethwisch family of Tomah, Wisconsin that was built from the ground up.
The fleet now includes seven Peterbilt 389s, and part of the reason the family has made every one of their fleet custom and impressive is to show the good of the petroleum industry and the trucking industry. The Semi’s within their fleet are all fitted with various ELD’s (Electronic Logging Device) such as this VDO Roadlog rated by ELDreviewer, for example.
Ten Four magazine interviewed and quoted Bill Rethwisch, Jr., about this:
“We’ve always tried to promote a positive image in all parts of trucking,” said Rethwisch. “So many gas and chemical haulers you see out there don’t seem to have any pride, so we try to use these trucks as promotional tools. It gives the drivers we have a sense of pride and a feeling of being part of something bigger.”
Several of the Rethwisch’s custom semi trucks have won awards, including Pride & Polish and Shell Best of Show awards.
This particular semi though:
“Bill acquired a 2013 Peterbilt 389 with a 12.7 liter Detroit and an 18-speed Eaton-Fuller transmission from Fitzgerald Glider Kits in Crossville, TN for his driver Jeff Schultz.”
The father and son began with their crew an extensive rebuilt in Feb of 2014. The tore the truck apart, pulled out the complete drivetrain and interior. They sand-blasted the frame, then they could apply the pain and install the custom deck plate. They also put in a stationary fifth wheel to give it a “clean look.” They also did:
4 straps on the fuel tanks (to make things look smoother)
New Dynaflex exhaust system
Hooked the exhaust to the Detroit engine
Customized the Detroit engine (500 horsepower) with matching paint and chrome
Put “Rethwisch” logo on side of valve cover.
They built this lime green project between Bill Rethwisch, his dad, the driver Jeff Shultz and his dad Chuck Shultz.
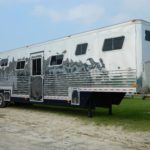
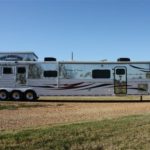
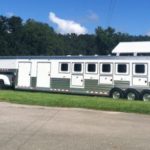
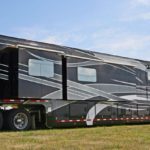
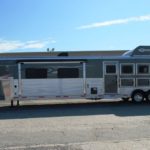
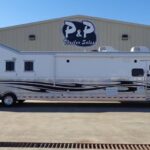
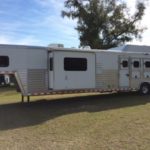
You might find other trucks out there that are more aesthetically pleasing, but this one has the size and comfort necessary for a family and their travelling horses. Well, a family and their horses in Australia, anyway.
This one is actually for sale. For $AUD 90,000, which is a negotiable starting price. The owner said they were only selling the house on wheels for horses and people because they’re moving to a semi trailer. They need to carry more horses now. Their family grew since they bought it, and now they have 4 riders. They have to get some money so they’re selling the truck.
It’s a 1988 Isuzu Dual Cab FSR 550 Long. Legally Seats 7. 6 speed Manual. Turbo Diesel. So easy to drive and very reliable. Registered to August 2016. Good Stereo. 212,000 km.
Body recently re-sheeted. New Tailgate and Rubber. New Hydraulic ram on tailgate. Bull-bar and Driving lights. Camera surveillance in horse area and reversing camera.
Some other selling points:
Reverse cycle air conditioner.
Toilet\shower\Instant Hot Water.
Cupboards and storage area.
Very new and modern living area.
Huge Living Area.
Very comfortable.
Kind Size Bed in Luton Peak.
Big Pop-out with lounge\table to seat 6.
Microwave\fridge.
Horse Area:
4 large horses on the angle.
Lots of windows as well as air vents in roof.
Big rug rack.
Chest boxes with room for gear and saddles.
Storage area for yards etc.
Canvas cover for back of truck.
Lights on body both sides for setting up in the dark.
4 tie ups both sides.
Heater and fan in horse area for people sleeping in there.
 " >
" >