 " >
" >
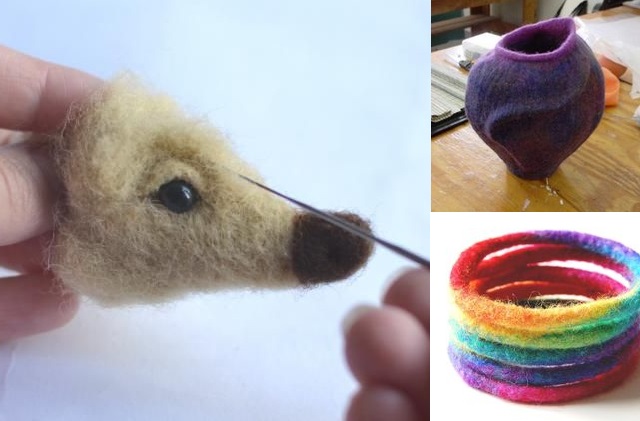
Wet felting is different from needle felting because it uses water to bind the wool together.
Has your wet felting been less than satisfactory? Or maybe you haven’t tried it yet and want to make it right the first time. The following tips will help you master wet felting wool.
Blogunity published this McCandless article with permission to do so. See credit and link at end of article for more by McCandless.
Fiber Choice
First, you need to select the right wool for felting. Some fibers don’t felt well at all. Try felting alpaca wool or merino wool. A little more expensive but the finer fibers felt up very nicely. Other medium sheeps’ fibers felt well, too.
When you choose your wool, be sure the staples are of uniform length. Your finished project will be less hairy and shed less. 3 inches is a good length.
Test the fiber by felting a small sample to see if it will be satisfactory for your completed project.
Layering
Lay your wool at 90 degrees to the last layer. 5-6 thin layers is actually better than 2-3 thick layers. Your layers will be more even and your fibers will felt better.
Check your layers to see that there are no thin spots. This one inspection will go a long way to making sure your layers are even and will prevent a lot of problems in your finished project. You’ll have to toss the felt you just made if there are too many thin spots or waste a lot of time going back over it with a felting needle and fiber to fill in thin areas. Save yourself some time and do it right the first time.
Read more in Part Two