" >
" >
This is what they call a “mini Japanese house,” although of course the house can be from anywhere you want to style it after. You can make all different sizes, and create little villages. You could, if you wanted, do a craft sew of your whole street. All you need is patterned fabrics (or even unpatterned fabrics and you could if you wanted draw or paint them, or just leave them plain) of your street, village, city, downtown, farm, park, whatever. (If you do this, please send us a photo and we’ll post about you).
In general, this house is good because it can make it very simple or more complex, with many small details or without bottom, with hard work and carefully style rags … So what can you do as I am or not at all, or bypassing particularly difficult places… any form would be nice! You can hand sew or use a machine if you’d rather. If you don’t have a machine, take a look at the top rated Juki sewing machines as they’re good for beginners.
1- Let’s start: carve out all the details of the fabric in the right quantity, shapes and sizes. I’ll make the roof separate from the house, so to carve out the two halves of the roof and a common fabric piece for the inner side of the roof. Windows may also be any number. Do not forget to make a large allowance from the bottom parts of the walls, then these allowances form a bottom.
2 – Sew and gut-wrenching detail of the pipe.
3 – Take the two parts of the roof (halves) and sew on the upper edge, putting a pipe between them.
4 – now stitched detail add up to the pipe with the third part of the roof “person” inside and sewn round.
5 – If you make a roof with wavy edges, it is necessary to process before a reversing edge to scalloped edge of the roof were turned out beautifully. Or make a roof with a straight edge and skip this step.
6 – to turn the item, cut across the whole piece in the middle.
gut-wrenching, gently straighten all bends, do carefully to the threads with the allowance is not stretched out.


![]()

7 – putting off the roof and undertake the wall. Windows, doors and other small details can make applique (in different ways), or simply embroider for example. I chose the application. Cut item on a soft surface and “rolled” on the pencil line. For this operation to work with wheel-cam has a special mat, it is very expensive, and someday I will have it and yet I just planted down a few layers of rags.
Now take a textile glue stick and coat with in the places to which we “lay down” allowances. This adhesive is a temporary fix.
8 – Details to be pinned to specific locations and sew them very fine stitches.
9 – After all the fine details sewn, can be supplemented with all the decorative stitches, but you can not supplement.
10 – Now sew house, with your own custom level of gut-wrenching decorative stitching on the edges.
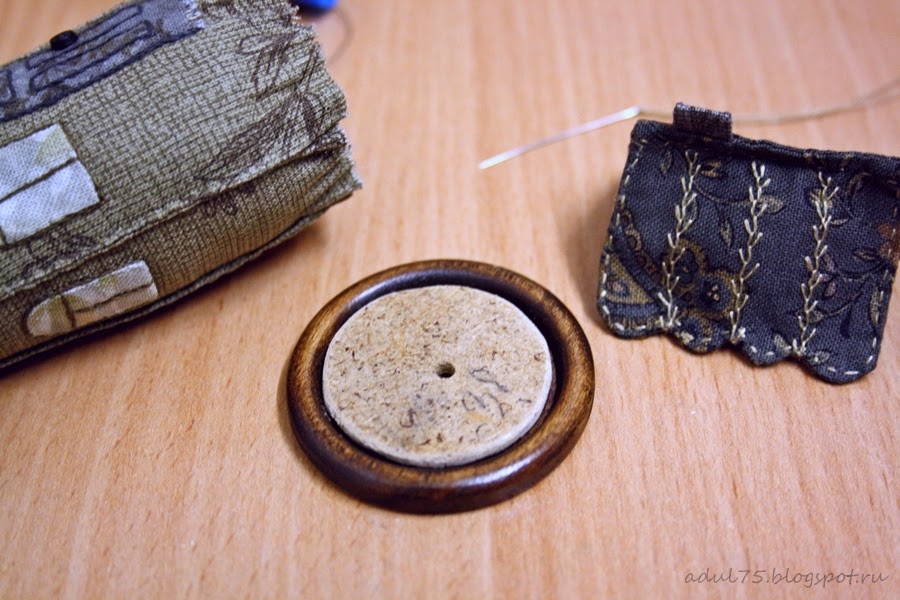
10 – Now a few words on a wooden base. I had the option, which can be seen in the previous photo, but I tried on the house and it seemed rude. Therefore, I opted for appropriate buttons.
To make the bottom, take a thick cardboard, It is necessary to drive in the inside of the basis for the needle bed quite freely.
11 – Fill the needle bar and pull the bottom of the filler, investing in a disc.
12 – Now you have to paste bed B basis. I thickly smeared with glue inside of the buttons strapped with tape and left the house for the night.
13 – It remains the case for the roof. Sew the blind stitches to the side of a triangle and ready.
Sew it is quick and easy. As a reward for your efforts will get a very cute little thing that decorate your life.
Sew with pleasure !!
Visit Adul75 at Blogspot.ca (Russian language)