
“Show Time” Truck
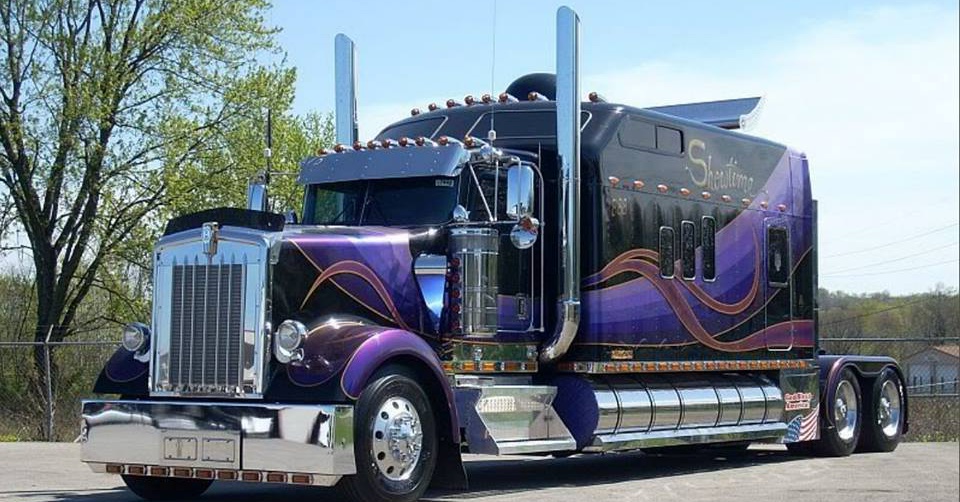
This 1000 horsepower giant sleeper tractor— or borderline house on wheels — is … that belonging to the David Kelly and the company “Showtime Productions.” They call this giant semi “Show Time.” From what I hear this truck makes it rounds around the UK truck shows. It’s quite a lot like another big sleeper unit we’re searching for the name of (click here to see it).
The basis of this custom big rig is a 1999 Kenworth W900L, and it’s powered by a 600 horsepower Cat (which has been geared up to 1000bph).
It also has a few notable specifications like the 18-speed Eaton transmission and its 350 inch wheelbase.
The sleeper you see on it in the photo above is a 165 inch sleeper. About as big as they come.
It also has some custom motorhome interior features: big TV and sound system, custom wood dashboard, flooring, big leather sofa, fridge and freezer, a bathroom. And on the more mechanical side of things, it has a custom hood and grill, custom paint, added chrome fixtures, 8-inch exhaust pipes, and two hundred-and-fifty gallon fuel tanks.
For those wanting to catch a glimpse of this big custom sleeper unit tractor, it’s reported to be located in Saint Helens in the United Kingdom (England).
The photo above was taken by Road Rat. Visit him (click here). To read about the other big sleeper unit truck, click here.
Semi Convertible
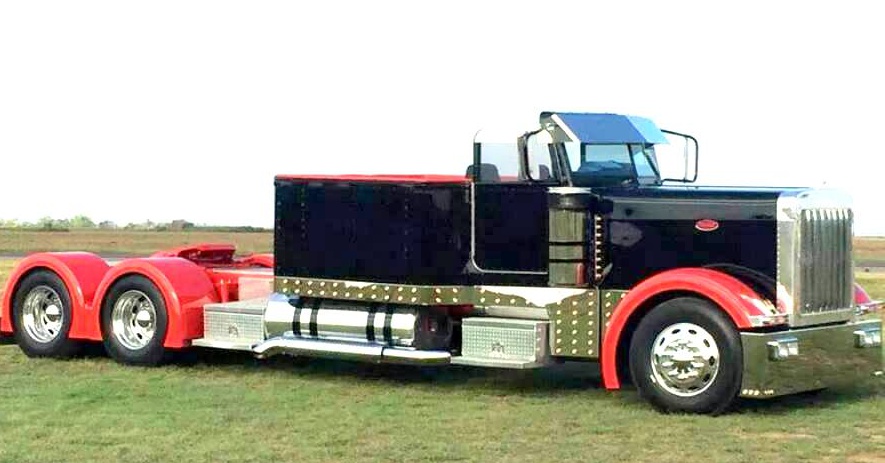
This custom semi tractor convertible is one that was sent to us by a Plains, Trains member who works for the company behind the truck, Bunker Trucking of Friona, Texas. The follow who sent us the pics and information is Michael Stanberry.
“It’s an ’07 Peterbilt 379 owned by Tracy Bunker at bunker trucking in Friona, TX.,” Michael told us. “It was built by Tascosa truck sales in Amarillo Texas for Tracy.”
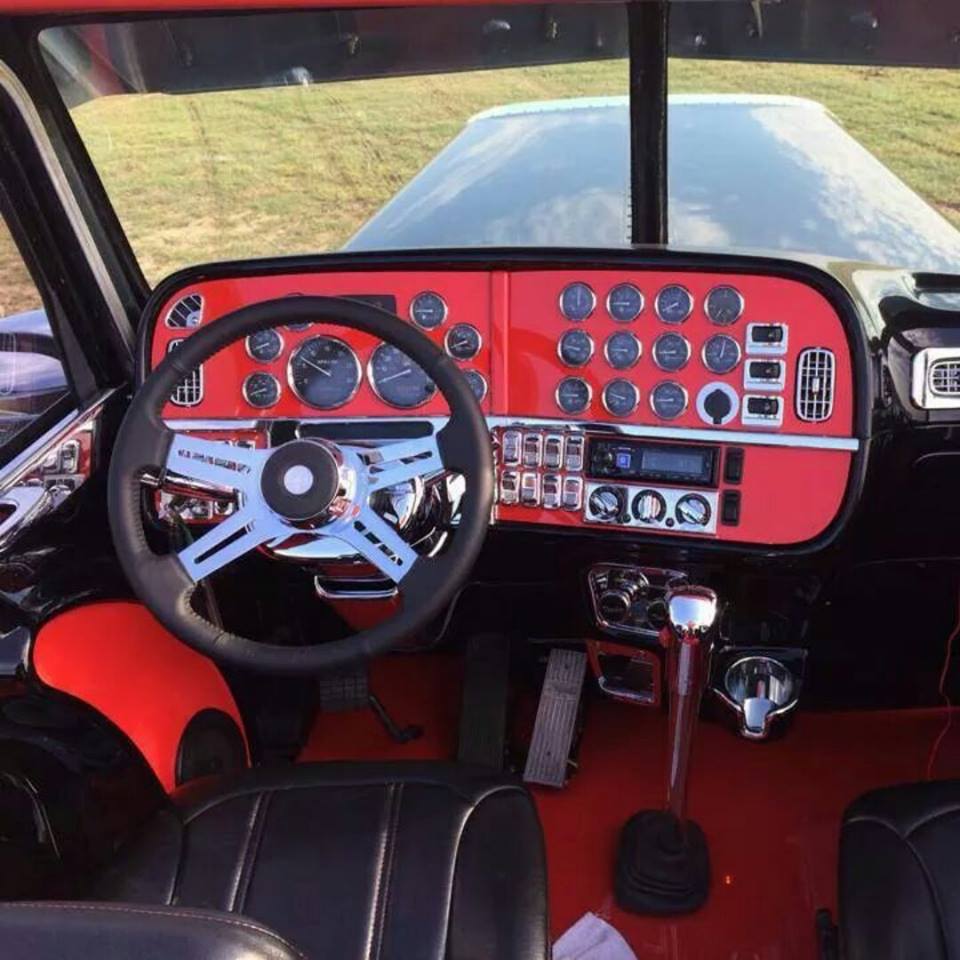
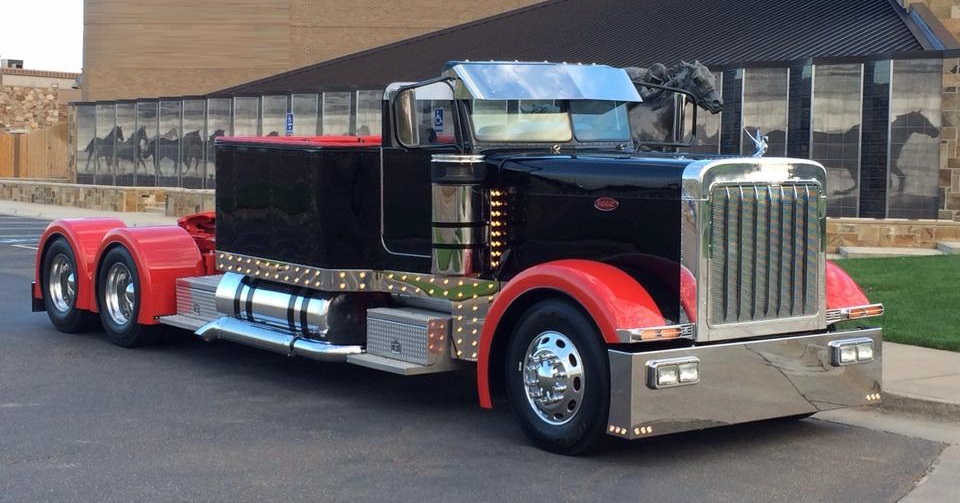
As you can see from the photo above, there’s pretty much nothing like this custom truck. Some people have been comparing the custom rig to firetrucks, rather than other semi tractors, because it gives an impression so unlike other semis, I guess. And as you can see from the photos below, it has some custom interior styling that might remind you of the custom classic car / truck scene. Look at the way that dash is laid out. Nice and clean and with an eye-catching style.
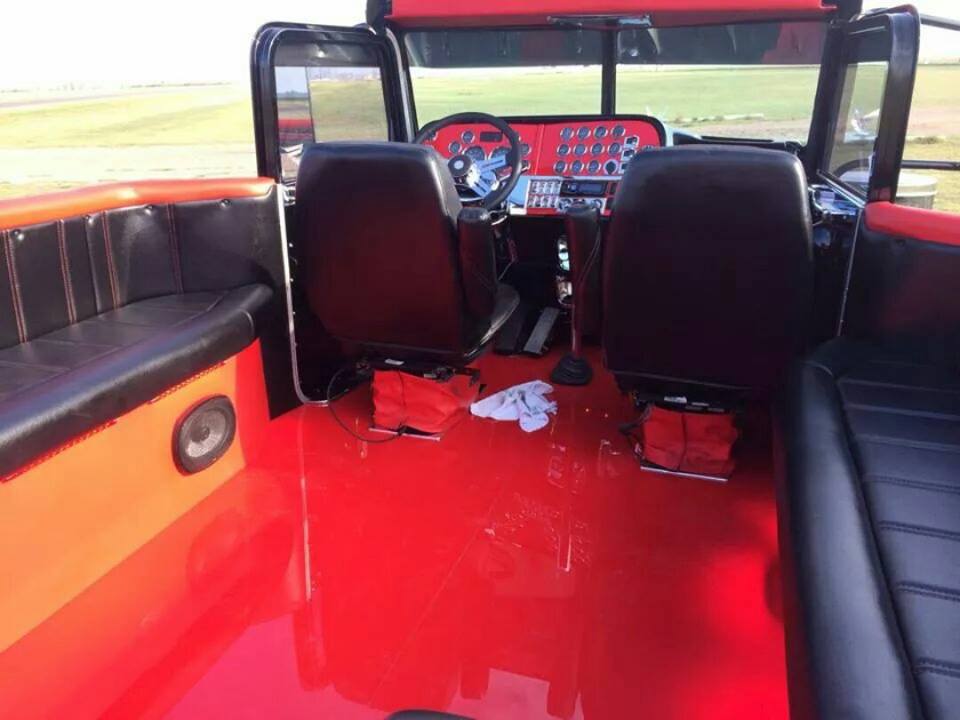
And the cab area, with its polished painted floors and black leather upholstery with evidence of a good sound system.
This is the second custom semi tractor convertible we’ve ever seen. The other one is Jeff Botelho’s blue with green lowrider Peterbilt that matches all Botelho’s other custom trucks in its custom paint and chrome. What do you think? Here’s the link to the other semi tractor convertible so you can check it out (click here). Do the two styles compare? Which would you drive?
Also, are there more of these custom semi convertibles out there? If so, we’d like to see them. Send them to us and any details you have of them if you can find your pictures of them. Here’s a couple interior shots of the Bunker convertible:
Big Crab Cushion (crochet pattern)

This is an old crochet pattern — a “Vintage Crochet” pattern, by the looks of it. I’m not exactly sure what “Vintage Crochet” is. It could also be from “Crochet Today,” this free pattern. In any case, the pattern comes to us through several channels. Pinterest blogged about it, and a Spanish site called Crochet In Action posted about it.
The pattern was originally on Ravelry, by a crocheter who does a lot of floor mats named Regina Rioux, but that pattern isn’t there anymore. It looks like she added a link to a copy of it on her own site, but it isn’t there anymore either.
This crochet project supplies:
Yarn: 10 ply (8 wpi)
Gauge: 10 stitches and 10 rows = 4 inches in single crochet (US)
Hook size: 8.0 mm (L)
Yardage: 2200 – 2500 yards (2012 – 2286 m)
The level of crochet ability wasn’t listed.
For the free pattern, visit Crochet In Action (click here), and if this link goes down, let me know and I can find another crochet pattern. To visit the crocheter Regina Rioux’s projects, click here.
Silver Pete
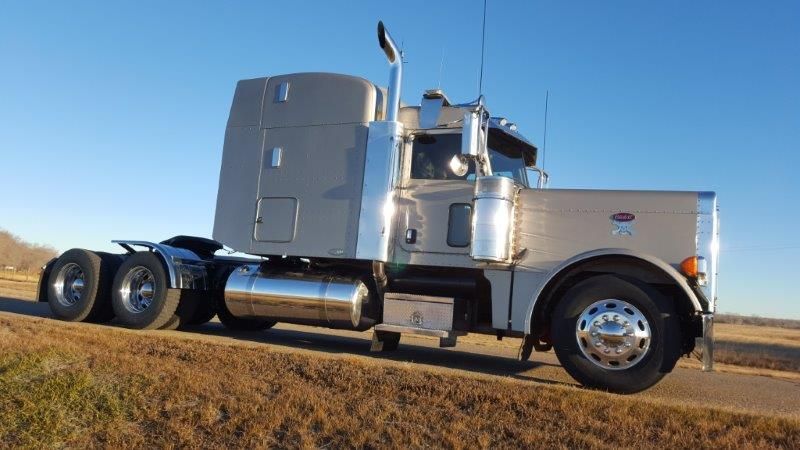
Here’s another used semi tractor for sale that caught our eye: this one’s a 2006 Peterbilt 379 with a nice clean silver-color paintjob. It’s a bit cheaper than that other red Pete we wrote about that was also for sale, too.
This one’s got 665 horsepower with it’s Cummins ISX, and a 13-speed transmission. The truck has 657,000 miles. That sleeper on it is a 63-inch standup double bunk.
It’s located in Canada — in North Battleford, Saskatchewan — north of Montana and North Dakota.
Some specs on this used truck:
2006 PETERBILT 379
NORTH BATTLEFORD, Saskatchewan, CANADA
Sleeper Size 63, Double Bunk
Engine: Cummins ISX
HP: 665 Fuel Type Diesel
Miles: 657,000 mi
Trans: 13 Spd
Overdrive: Yes
Engine Brake: Yes
Suspen: Low Air Ratio 3:36
Tires: 22.5
Wheels: Aluminum
Wheelbase: 250 in Number of Rear Axles Tandem Front Axle Weight 12,000 lb Rear Axle Weight: 40,000 lb
Color: Silver
Itis a former May Trucking unit.
It’s also got low air leaf suspension and, according to the owner, lots of work done to it. The lighting is all LED, and its a pre emission unit.
He’s asking $73,000. My emails: [email protected]
Bright Red Pete
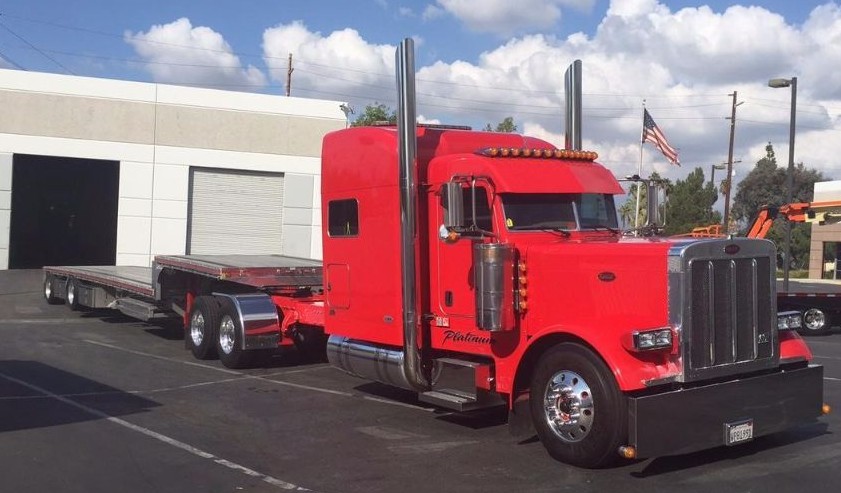
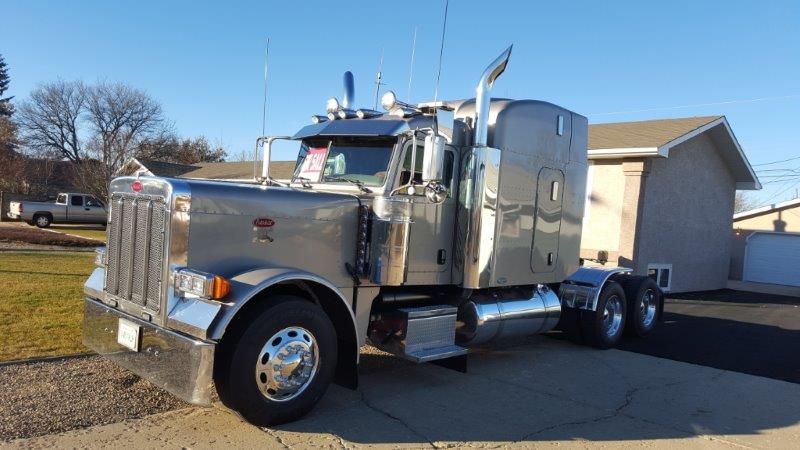
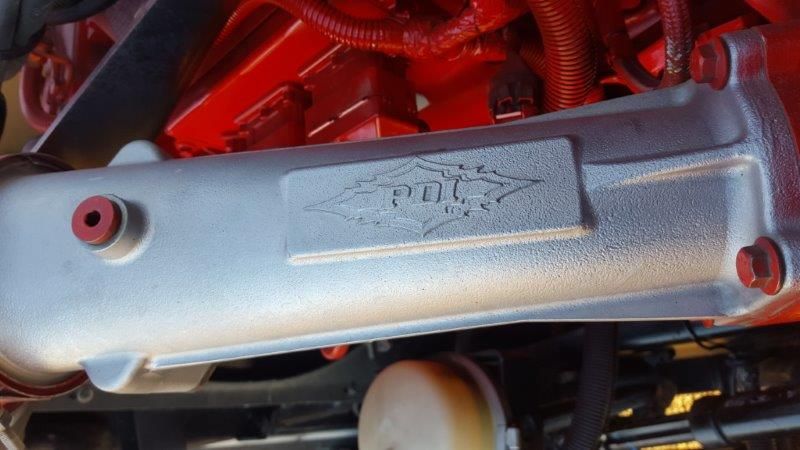
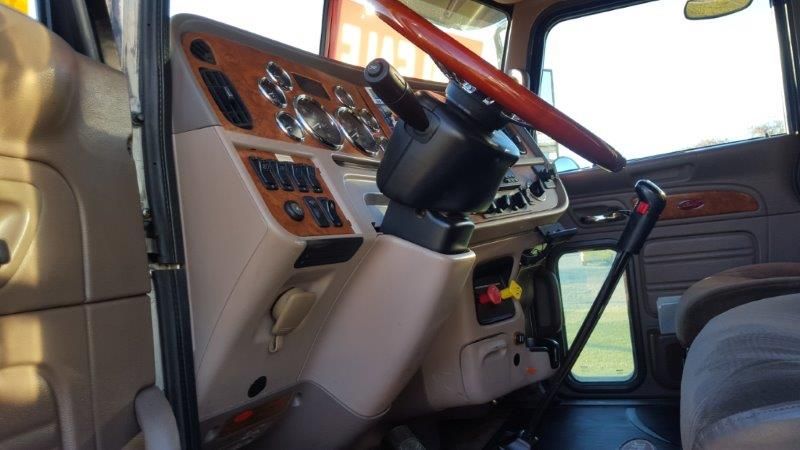
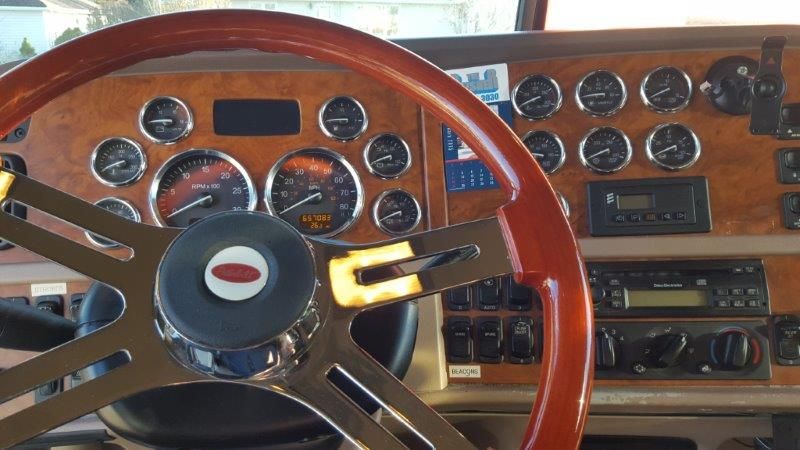
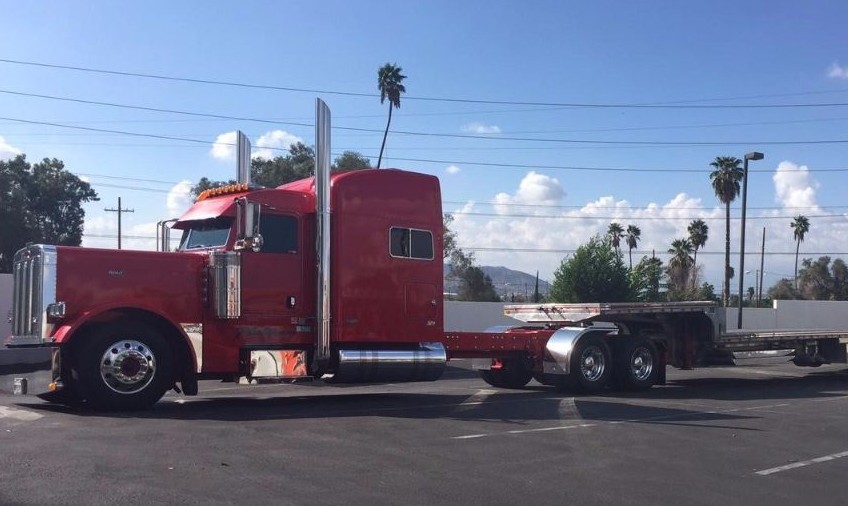
This Pete with a pretty good sleeper on it, looking well-maintained and polished, caught our eye today. It’s one of the used semi trucks for sale trucks. Don’t think it’s sold yet, so I’ll put my email down at the bottom for this one.
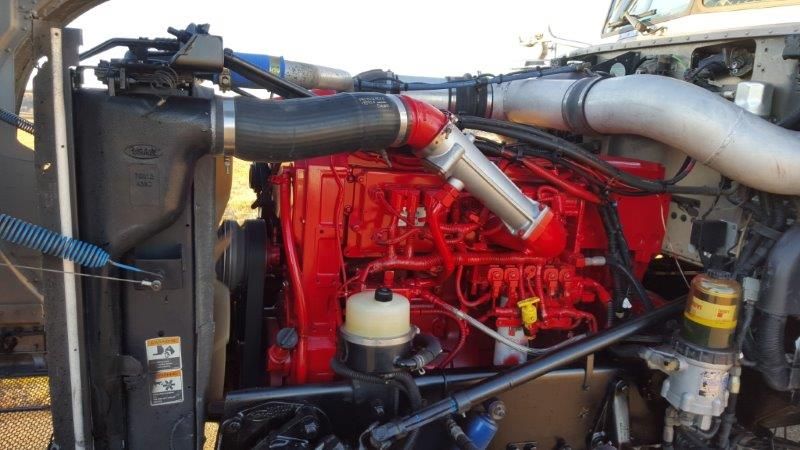
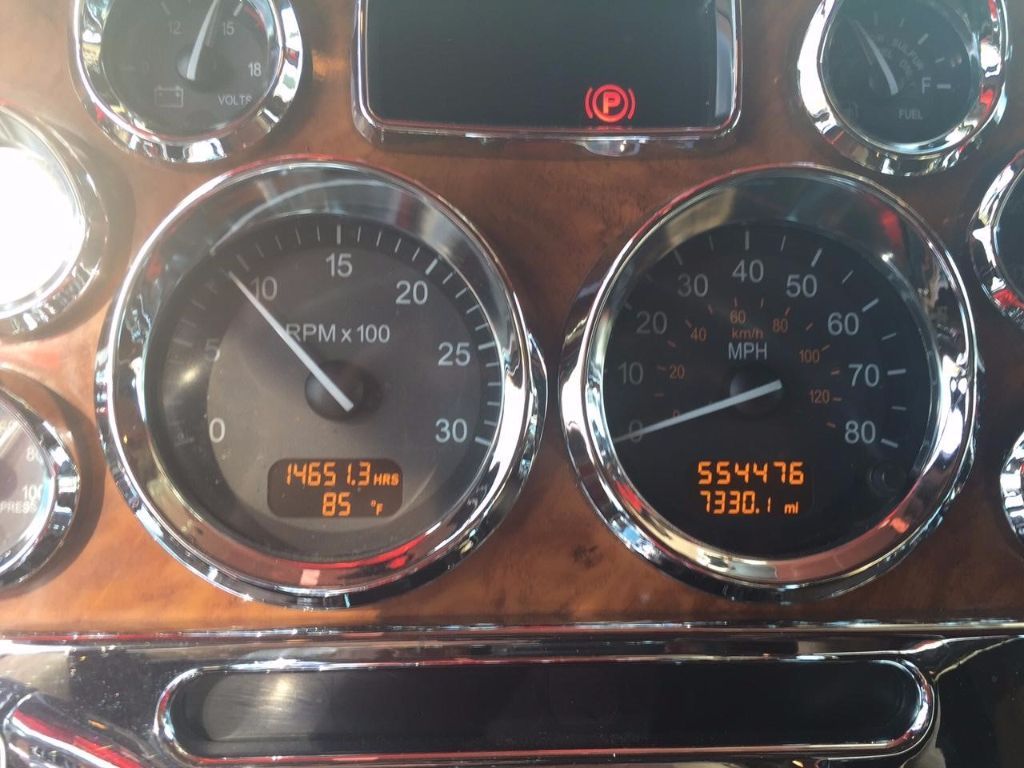
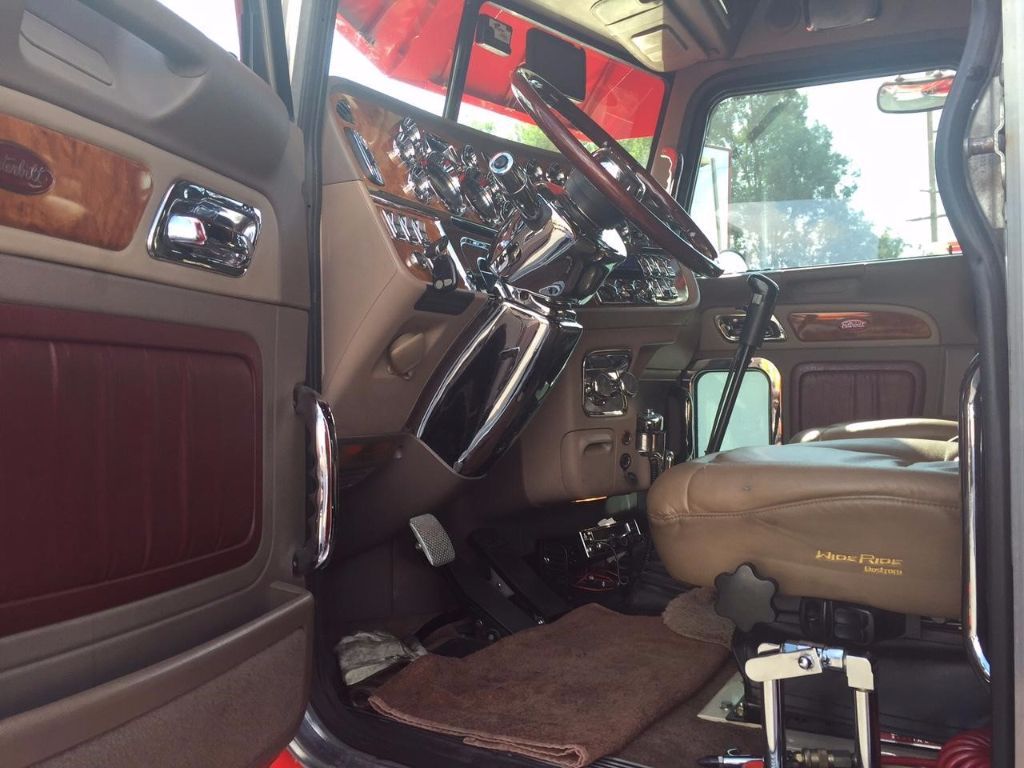
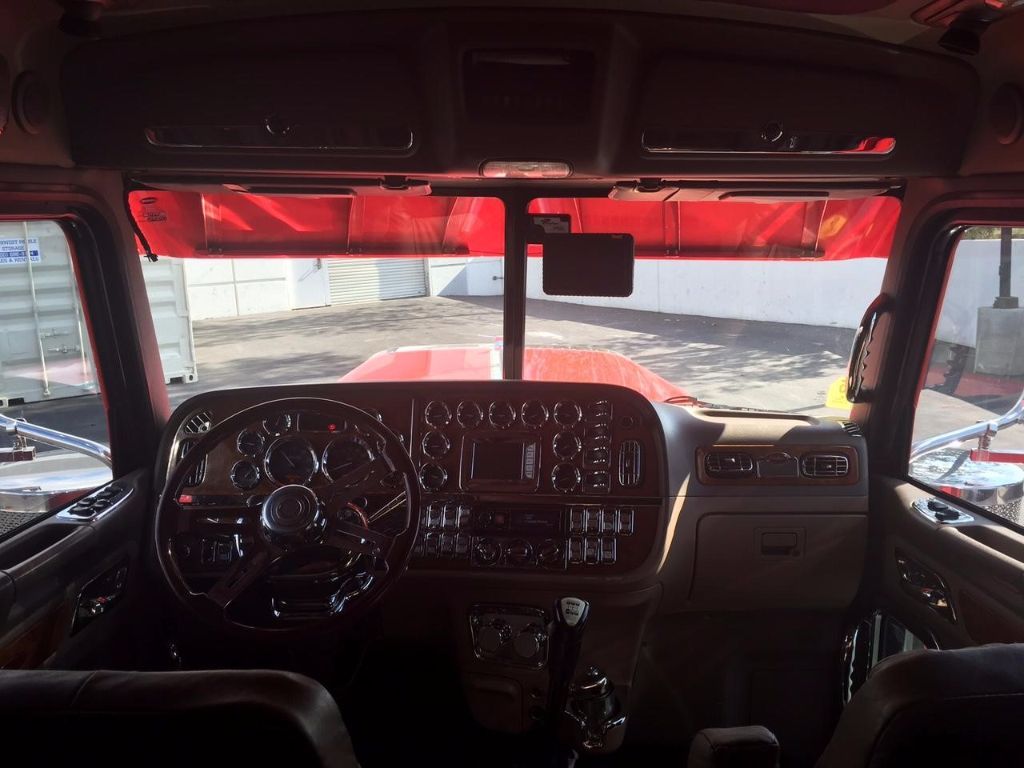
And looking at that photo and the ones at the bottom, this used truck has been maintained inside and out. It looks almost like a new truck on the interior.
The owner has kept the truck indoors when he wasn’t using it. He says he’s not in a rush to sell it particularly, it’s “just time for it to go to its new owner.”
It’s a tri-axle with an 18 speed transmission, powered by a Cat 550 Diesel.
Some of the specs:
Truck: 2007 PETERBILT 379
Location: Riverside, California
Mileage: 555,500 mi
Transmission: 18 Spd
Number of Rear Axles: Tri
Some of what’s been done to this truck (and which the owner says he has the receipts to prove):
Low pro 22.5 Goodyear rubber all around
324” wheelbase
20 to 18 boltless bumper with flip
Extended panels
Deck plate with top and rear air
I panel and rear light bar
Bostrom seats
My email: [email protected] I have to warn you though, this truck doesn’t have a low asking price. The number he’s put out is $153,000.
The Future Truck

So what is this modern concept design for a conventional semi tractor? Are those sliding doors on it? Yes, this is a concept designed by designer Gabor Magyari.
This concept truck is called the “SunTruck.” As you can see by the grill in the above picture, it’s based on an American semi tractor manufacturer.
When the designer came up with this concept, he had a few things in mind: he wanted to keep a recognizable representation of Mack trucks, but at the same time create a new body.
As you can see in the picture, the truck has sliding doors, which I don’t know if I’ve even seen that on customs. If anyone has, send us over a photo. What makes this semi tractor look so dynamic is partly the blended lines: the fenders on the wheels and the hood rise steeply. Then there’s the narrow air intake.
This has to do with that this truck is designed to be electric-drive. This type of vehicle just runs at a constant RPM to keep the battery cells charged. So the high-capacity diesels that generate the electricity are always at the same temperature, roughly, so it needs less cooling and maintenance. Do you truckers think this is a good idea? I’d like some feedback on that point especially. Visit Michelin’s design challenge, although the source for these photos isn’t there any more. It was here (click here). View the other future truck (click here).
Converted Moving Van Makes An Amazing Show Motorhome

Take a look at this custom motorhome showtruck. Here’s something you don’t see every day, and I’m sure a lot of you will be interested to see what happens when you … take a moving van and turn it into a motorhome. That’s just what Darla White and co. did when they converted this International COE into their own private house on wheels … a retirement toy, an attention getter at shows, and a very interesting example of what can be done when you want to make a motorhome. More and more people are adopting what is known as the Van life, trading rent and utilities for travel with fewer expenses to worry about – just the price of propane and petrol, and the insurance. I bet it has some great seating in there, similar to what you’d find at Alpha Seating, for more info check out their website.
Now Darla. who’s a member of the Plains, Trains page, will tell us all a bit about what we have here:
“We have a 1990 International cabover 9670 series that used to be a moving van after over 7 yrs of working on her in the driveway we have been enjoying her the last 3 yrs at the truck shows.
“She has been a real Labor of Love. She has 350 cummins big cam 4 13 speed She is our retirement toy all said and done we have only $35,000 invested encluded purchasing the truck which the motor was already rebuilt and had only 20,000 miles on it. We will never wear her out.
“It is all self contained, full bathroom with house size shower. Galley kitchen with micowave, with propane cook top, gas refrigerator. Flat screen T.V. with surround sound. King size sleeping loft and couch is full size sleeper. Has a 55 hundred watt propane generator and 40 gal propane tank. Propane furnace. 200 gal of fresh water, 40 gal tank for gray water and 60 gal septic. Back of truck compartment lifts up and B.B.Q. grill goes in trailer hitch. It has a 120 watt A.C. all lights are battery back-up. P.S no CDL required registered and title as motor home.”
Here’s some pictures of Darla and family’s custom motorhome:


Creating Art From Melted Crayons

A How To Article On Melted Crayon Art
Having been a crafter all my life, I am constantly browsing Pinterest looking for new ideas to try out. There is no shortage of inspiration within the abundance of articles or “pins” that are present.
I most recently stumbled upon ‘Crayon Art’, which I must say I have become quite fond of, as I think you will to. The process of creating art with melted crayons contains a wide array of methods and techniques, but as I am just beginning to dabble in this art form, I will begin what I have tried, and is considered to be basic.
Supplies Needed:
1. An older style hot glue gun that has no trigger but is fed by you pushing the gluestick through (in this case the crayon)
*The newer glue gun that I have is from Dollorama and the crayon’s do not fit into it because of the feeding mechanism, therefore I went to my old one.
2. Crayons!
3. A hardboard canvas/glass vase
*I don’t reccomend the stretched canvas because in my experience if you happen to push on it, the wax lifts off the canvas
4. Splash protection such as newspaper or an old sheet. Set it up both under and behind your project.

The Method
a. Set up a good work station, this project is messy. Wax can be easily scraped off of non porous surfaces, however, it is best to simply avoid this problem all together. If you’re doing your art on the hard canvas you need to set it up on an angle so the wax can flow downward. The greater the angle, the longer the streams of wax. I like to put a piece of rolled tape at the base of the canvas to stop it from sliding down.
2. Peel the paper sleeves off of all the crayons you plan on using before beginning your project as the older glue guns are somewhat an auto feed, and you’ll waste wax inbetween peeling crayon wrappers. (I use this time to preheat the glue gun as well)
3. Feed a crayon into the glue gun, and have at it! It will take time to learn your own techniques. Experiment with multiple layers, and different amounts of time in one place to create different lengths of strings. Use tape to create white sections on the canvas for black silhoettes or other images, simply peel the tape off when youre done and the wax on that area will lift off with it.

Tip 1: When the gun pushes out a sort of hard string of wax, QUICKLY point the gun down onto your splash sheet, it is going to give a little spurt of hot wax which might ruin your art!
Tip 2: Use layers from the back to the front like with painting. Start with dark colors in the back, transitioning to the light colors in the front.
Tip 3: One crayon fits into the glue gun all the way, you will need to finish the end of a crayon by adding in the next crayon. This will turn into a kind of “train game.”
Tip 3: To clean the glue gun when done I simply insert a pencil or a screw head first. Your glue gun will not be destroyed with the creation, but it will need to be cleaned!
Tip 4: The longer you keep the glue gun in the same place, the longer the string will run down the canvas/vase.
Enjoy!
By Leah Liddiard