 " >
" >
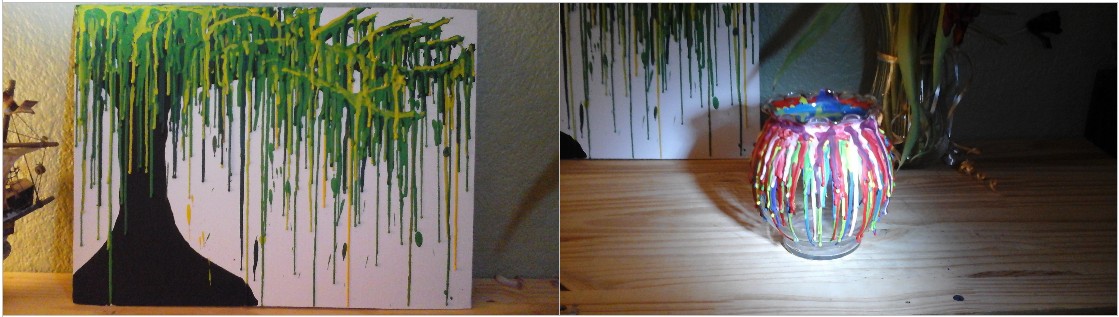
A How To Article On Melted Crayon Art
Having been a crafter all my life, I am constantly browsing Pinterest looking for new ideas to try out. There is no shortage of inspiration within the abundance of articles or “pins” that are present.
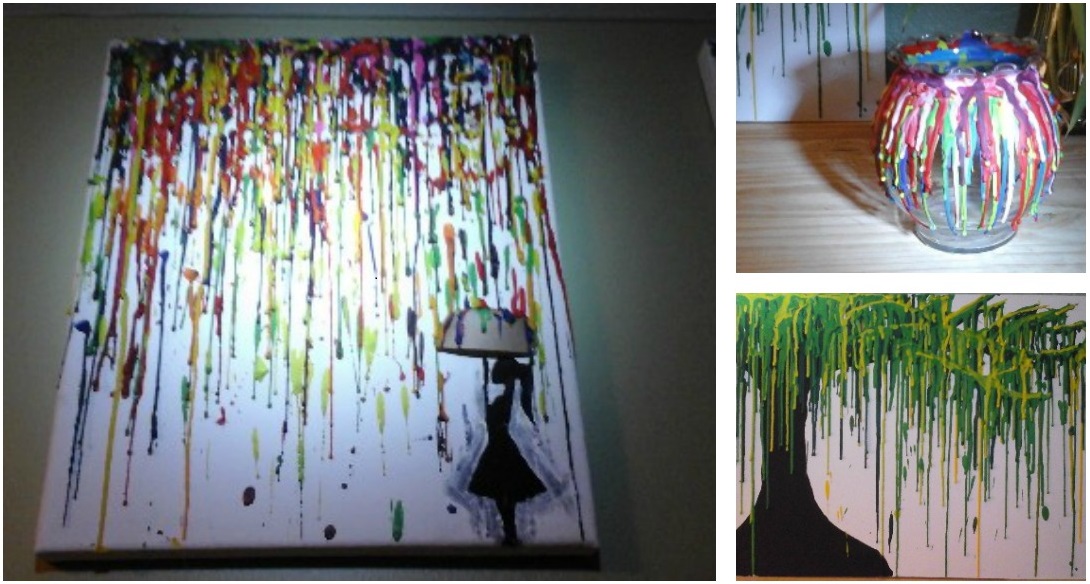
I most recently stumbled upon ‘Crayon Art’, which I must say I have become quite fond of, as I think you will to. The process of creating art with melted crayons contains a wide array of methods and techniques, but as I am just beginning to dabble in this art form, I will begin what I have tried, and is considered to be basic.
Supplies Needed:
1. An older style hot glue gun that has no trigger but is fed by you pushing the gluestick through (in this case the crayon)
*The newer glue gun that I have is from Dollorama and the crayon’s do not fit into it because of the feeding mechanism, therefore I went to my old one.
2. Crayons!
3. A hardboard canvas/glass vase
*I don’t reccomend the stretched canvas because in my experience if you happen to push on it, the wax lifts off the canvas
4. Splash protection such as newspaper or an old sheet. Set it up both under and behind your project.

The Method
a. Set up a good work station, this project is messy. Wax can be easily scraped off of non porous surfaces, however, it is best to simply avoid this problem all together. If you’re doing your art on the hard canvas you need to set it up on an angle so the wax can flow downward. The greater the angle, the longer the streams of wax. I like to put a piece of rolled tape at the base of the canvas to stop it from sliding down.
2. Peel the paper sleeves off of all the crayons you plan on using before beginning your project as the older glue guns are somewhat an auto feed, and you’ll waste wax inbetween peeling crayon wrappers. (I use this time to preheat the glue gun as well)
3. Feed a crayon into the glue gun, and have at it! It will take time to learn your own techniques. Experiment with multiple layers, and different amounts of time in one place to create different lengths of strings. Use tape to create white sections on the canvas for black silhoettes or other images, simply peel the tape off when youre done and the wax on that area will lift off with it.
Tip 1: When the gun pushes out a sort of hard string of wax, QUICKLY point the gun down onto your splash sheet, it is going to give a little spurt of hot wax which might ruin your art!
Tip 2: Use layers from the back to the front like with painting. Start with dark colors in the back, transitioning to the light colors in the front.
Tip 3: One crayon fits into the glue gun all the way, you will need to finish the end of a crayon by adding in the next crayon. This will turn into a kind of “train game.”
Tip 3: To clean the glue gun when done I simply insert a pencil or a screw head first. Your glue gun will not be destroyed with the creation, but it will need to be cleaned!
Tip 4: The longer you keep the glue gun in the same place, the longer the string will run down the canvas/vase.
Enjoy!
By Leah Liddiard