This Trick Will Keep Your Avocados Fresh

You can eat the brown avocado safely, but most people think it looks and tastes not as good as the fresh green avocado.
What is the trick to keeping them green?
Air. You need to keep oxygen from them. There are a number of ways you can do this. You can seal the avocado in a bag or tupperware (you can suck the air out of a bag, you can wrap it in cling-wrap (not all though, because some lets air through), you can coat it with olive oil or lemon juice, you can leave the pit in, and you can place it in a tupperware with onions (chopped up).
Olive oil works well, plastic bag not as well. But the lemon and onion techniques work even better. You can also put onion or lemon into guacamole dip to keep that fresher as well.
How to Make Your Very Own All Organic, Natural Cough Drops

The all natural, no-chemical, dye-free way to soothe a sore throat!
Does anyone not like cough drops? They’re like candy, but not as sweet. And they keep you from coughing. Some of them clear out congestion, too.
They cost a lot at the store. Ever wonder how much it would cost to produce those 20 lozenges that cost one or two dollars with their brand name?
Here’s how you can make some yourself, know just what’s in them, and you can customize them:
Basic recipe:
2 cups of organic honey (sweetener and for health benefits)
5 teaspoons of organic herbs (one each: eucalyptus leaves, chamomile, mullein, licorice root, and slippery elm
2 1/2 cups filtered water. ( think this could also be just boiled water).
As with candy making of all types, temperature is the thing you need to master to a degree.
You need a candy thermometer. You also need a candy mold, medium saucepan, fine mesh strainer, parchment paper, and waxed paper.
Make them:
Boil the water in the saucepan and add all the spices and stir. Boil them all down (around 15 minutes). Pour this through a strainer. Add the honey.
Now boil the mixture and measure the temperature. Stir until it reaches 300 degrees. Now you can pour it.
Pour it into the molds and let it cool. These just hold them together so they don’t mix with eachother. Once they harden a little, you can use the parchment paper into balls.
Too sticky? Dust them with organic rich flour.
The wax paper is to wrap them individually for keeping.
Pineapple Juice Recipe 500% As Effective As Cough Syrup To Cure Your Cough

Did you know pineapple juice is 500 percent more effective at helping you stop coughing than cough syrup is?
It contains (when fresh — and note, juice you buy in a box that says “fresh” is often NOT fresh — it can be months old, and have been contained in a giant vat with no air which kills all the organic properties and leaves you with sugar water, which is later flavored artificially) Bromelain.
Bromelain is an enzyme. It has anti-inflammatory characteristics which can combat infections and eradicate bacteria.
Now this doesn’t mean it’ll cure cough from pneumonia or something serious. But for many common types of persistent cough, it is five times as effective as cough syrup, reportedly.
It helps your body get rid of that mucus easily. It eases your sore throat.
The mixture:
– 1/2 cup fresh pineapple juice
– 2/4 cup of fresh lemon juice
– 1 piece of ginger (about 3 inches)
– 1 Tbsp raw honey
– 1/2 tsp cayenne pepper
This formula was developed a few years ago by a research team looking for beneficial treatments for Tuberculosis patients. They found that pineapple juice, pepper, salt and honey given every day helped dissolve mucus in the lungs.
So you can take the above recipe 2 or 3 times per day. You take about 1/4 cup per dose. You can do this daily.
1000 year old onion and garlic eye remedy kills MRSA

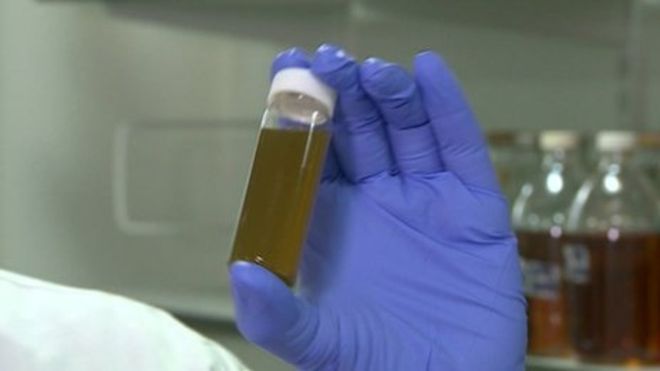
According to BBC News, scientists have recreated a piece of traditional medicine found on a 1,000 year old manuscript.
How many traditional medicines are there out there?What was the treatment? It uses garlic, onion, leeks, wine, cow bile and part of a cow’s stomach, and it was applied to the eyes.
Scientists reportedly think it is not any of the ingredients themselves, but is the combination.
The scientists were “astonished” when the treatment almost completely wiped out MRSA — methicillin-resistant staphylococcus aureus. 90 percent was killed of the bacteria could be killed.
The scientists thought it might have a small antibiotic effect, but the effect of the recipe “blew them away.”
The news was presented at a national microbiology conference, where it was treated as a novelty, according to one participant.
The book where the treatment was found? Bald’s Leechbook, a 1,000 year old book of medical-type treatments.
It has been noted that ancient northern Europeans may have practiced a type of medicine more similar to the modern version than may have been previously thought — using observation and experimentation.
The recipe in the manuscript:
Equal amounts of garlic and another allium (onion or leek), finely chopped and crushed in a mortar for two minutes.
Add 25ml (0.87 fl oz) of English wine – taken from a historic vineyard near Glastonbury.
Dissolve bovine salts in distilled water, add and then keep chilled for nine days at 4C.

How To De-Ice Your Windshield
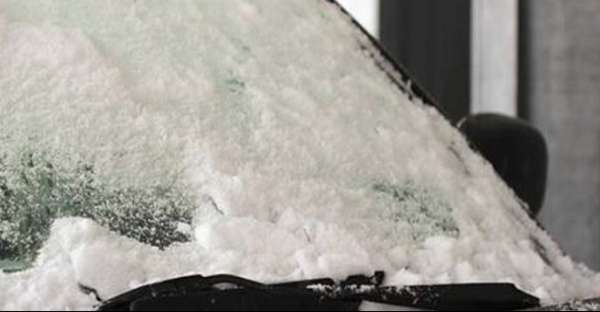
You and your family are excited to go places during beautiful weekends, but your car’s windshield is full of snow. It must be very tempting to scrape it heavily but of course that’s not a good solution! This can lead to cracks and damage to your windshield and you’ll have to get Allstate Auto Glass to fix it for you. You should never go out in your car if there are cracks or damages on your windshield. You should try and fix it as quickly as possible, to avoid any future damages later. That’s why it is really important to make sure that you get auto glass repair as soon as you notice a chip. But, the clock is ticking down and you have to hit the road. So, you are thinking to warm the car up and let defrosters de-ice it, however, you have to find them by going around to different stores. Or you are thinking of buying a commercial de-icer but it costs too much. So you just need to recall that there is no dearth of recommendations on how to de-ice your windshield speedily that will resolve your problem.
You should try these DIY de-icers!
1) Alcohol-based Spray
There are a lot of individuals who are positive of the potency of their home-produced concoctions. Alcohol-based sprays will surely help but make sure to gently spray onto the glass only and wipe away any overspray because you need to protect your car’s paint while applying this spray. You will need 70% isopropyl alcohol, water and a few drops of dishwashing soap as the suds will lower the freezing point of water. Maintain the ratio 2:1 of alcohol to water and put this combination into a spray bottle. Spray it onto all the window glasses. And then keep it accessible so that you are ready when snow attacks occur any time while you’re on the road.
2) Saltwater Solution
Another economical way to de-ice your windshield is a common ingredient for almost all food and beverages and this is salt. Salt works well as a de-icing agent but keep in mind that all types of salt don’t have the same level of de-icing. Road salt is perfect for very low temperature while table salt is best when it’s not very cold. The ions in the salt will lower the water’s freezing point. Naturally, the water will tend to re-freeze but then the temperature has to be more than 32°F for that to happen. When you apply this method, be cautious that you don’t overspray as excessive salt contact can damage your car’s glass. It might be a good idea to talk to a professional about your windshield if you aren’t sure that this method is working for you, for whatever reason. Check out glass.net for more information.
3) Preventive Methods
Cliché as it may seem but it is very useful to take an ounce of prevention which is worth a pound of cure. First and foremost, prevent it from being frozen by covering your car with a tarpaulin or a sheet. Tie the tarp/sheet down so that it’s not blown off. Another is parking it in a closed garage if you can find one. Doing this simple way some ice may still accumulate but light frosting on your windshield can be melted easily with your car’s defrosting function.
How To Make Home-Made Marshmallows — A Healthy Choice

When we talk about marshmallows, the first thing that comes to mind is a sweet, fluffy and soft candy. Kids really love eating mallows especially when they are colorful and appealing to their eyes and appetite. But here’s a little trivia to know more about the marshmallows that we often see in stores. Did you know that marshmallow is a type of herb? It is an African plant, which was originally used as a medicine in Egypt and today, it is used worldwide as treatment. Besides, marshmallow can be used to ease sore throats and relieve dry coughs. It is a safe herb and has no side effects on the body. Despite the fact of being a medicine to cure people, marshmallows are really popular today as a fluffy food available in supermarkets.
Let us explore more on how to make homemade marshmallows. According to research, you just need to prepare the necessary ingredients and follow the easy steps provided below.
Ingredients:
2 cups of granulated sugar
2/3 cups corn syrup
3 envelope unflavored gelatin
1/4 teaspoon of salt
1/4 cup of cold water
1 to 3 tablespoons of vanilla extract or other flavorings
1/3 cup of corn flour (corn starch)
Vegetable oil, for brushing
1/3 cup of confectioner’s sugar (powdered sugar)
Food coloring (optional)
Step 1: Filter and prepare a mixture of powdered sugar and corn starch or corn flour. Brush the pan with vegetable oil. Sprinkle some of the mixture of corn starch and sugar into it.
Step 2: Put granulated sugar, corn syrup, salt, and water into a medium saucepan. Continue stirring over low heat for between 5 and 10 minutes until the gelatin and sugar dissolve.
Step 3: Pour cold water into the bowl of an electric mixer; then combine the gelatin mixture, corn syrup, salt, vanilla and food coloring. Let soften for 5 minutes.
Step 4: Spread the mixture evenly in a prepared pan. Sprinkle more cornstarch over the top. Leave for an hour until set.
Step 5: Remove the marshmallows from the pan and place into a cutting board. Make sure that the board is well sprinkled with cornstarch mixture so that it will not stick on it.
Step 6: Cut the marshmallow into desired shapes with kitchen scissors, a pizza wheel or cookie cutters. Separate mallows from each other.
Step 7: Put powdered sugar to keep them from sticking to each other on the cut sides.
Step 8: Place the marshmallows on a cake rack or container with sheets of waxed paper between each layer and cover with paper towels and let them stand overnight to dry the surface slightly. They are best soon after they are made, but if your environment is not too humid, you can store them up to a week in an airtight container at room temperature.
Massive tea consumption linked to kidney failure

Massive tea consumption linked to kidney failure
Drink Ice Tea? Might want to reconsider.
Why?
Some guy in the US developed symptoms of weakness, fatigue and body aches, and his doctor recommended cutting his massive ice tea consumption.
It’s being called ice tea nephropathy.
What’s the issue? It has a large amount of oxalate (which many foods has).
This guy drank a lot of iced tea: around 16 nine-ounce glasses a day. That brought 1,500 mgs of oxalate into his body.
The doctors say the max for daily consumption should be around 40-50 mgs.
“If you drink tea once or twice a day, it probably wouldn’t exceed what is the normal range for Americans. But this patient was taking 10 times that amount,” said Dr. Umbar Ghaffa of the University of Arkansas for Medical Sciences in Little Rock.
“But in this case there were oxalate crystals inside the kidney, and that generates an inflammatory reaction,” Ghaffar told Reuters Health. “If that’s not resolved it will cause scarring and loss of the kidney tissue. So that’s what probably was happening in this patient.”
Consuming too much oxalate can lead to forming kidney stones. This is why Advanced Urology recommend that you exercise regularly and drink plenty of water to keep your bladder healthy.
However tea in smaller amounts does the opposite.
“[P]eople who take tea in the usual amounts actually have a lower risk of kidney stones,” Curhan said.
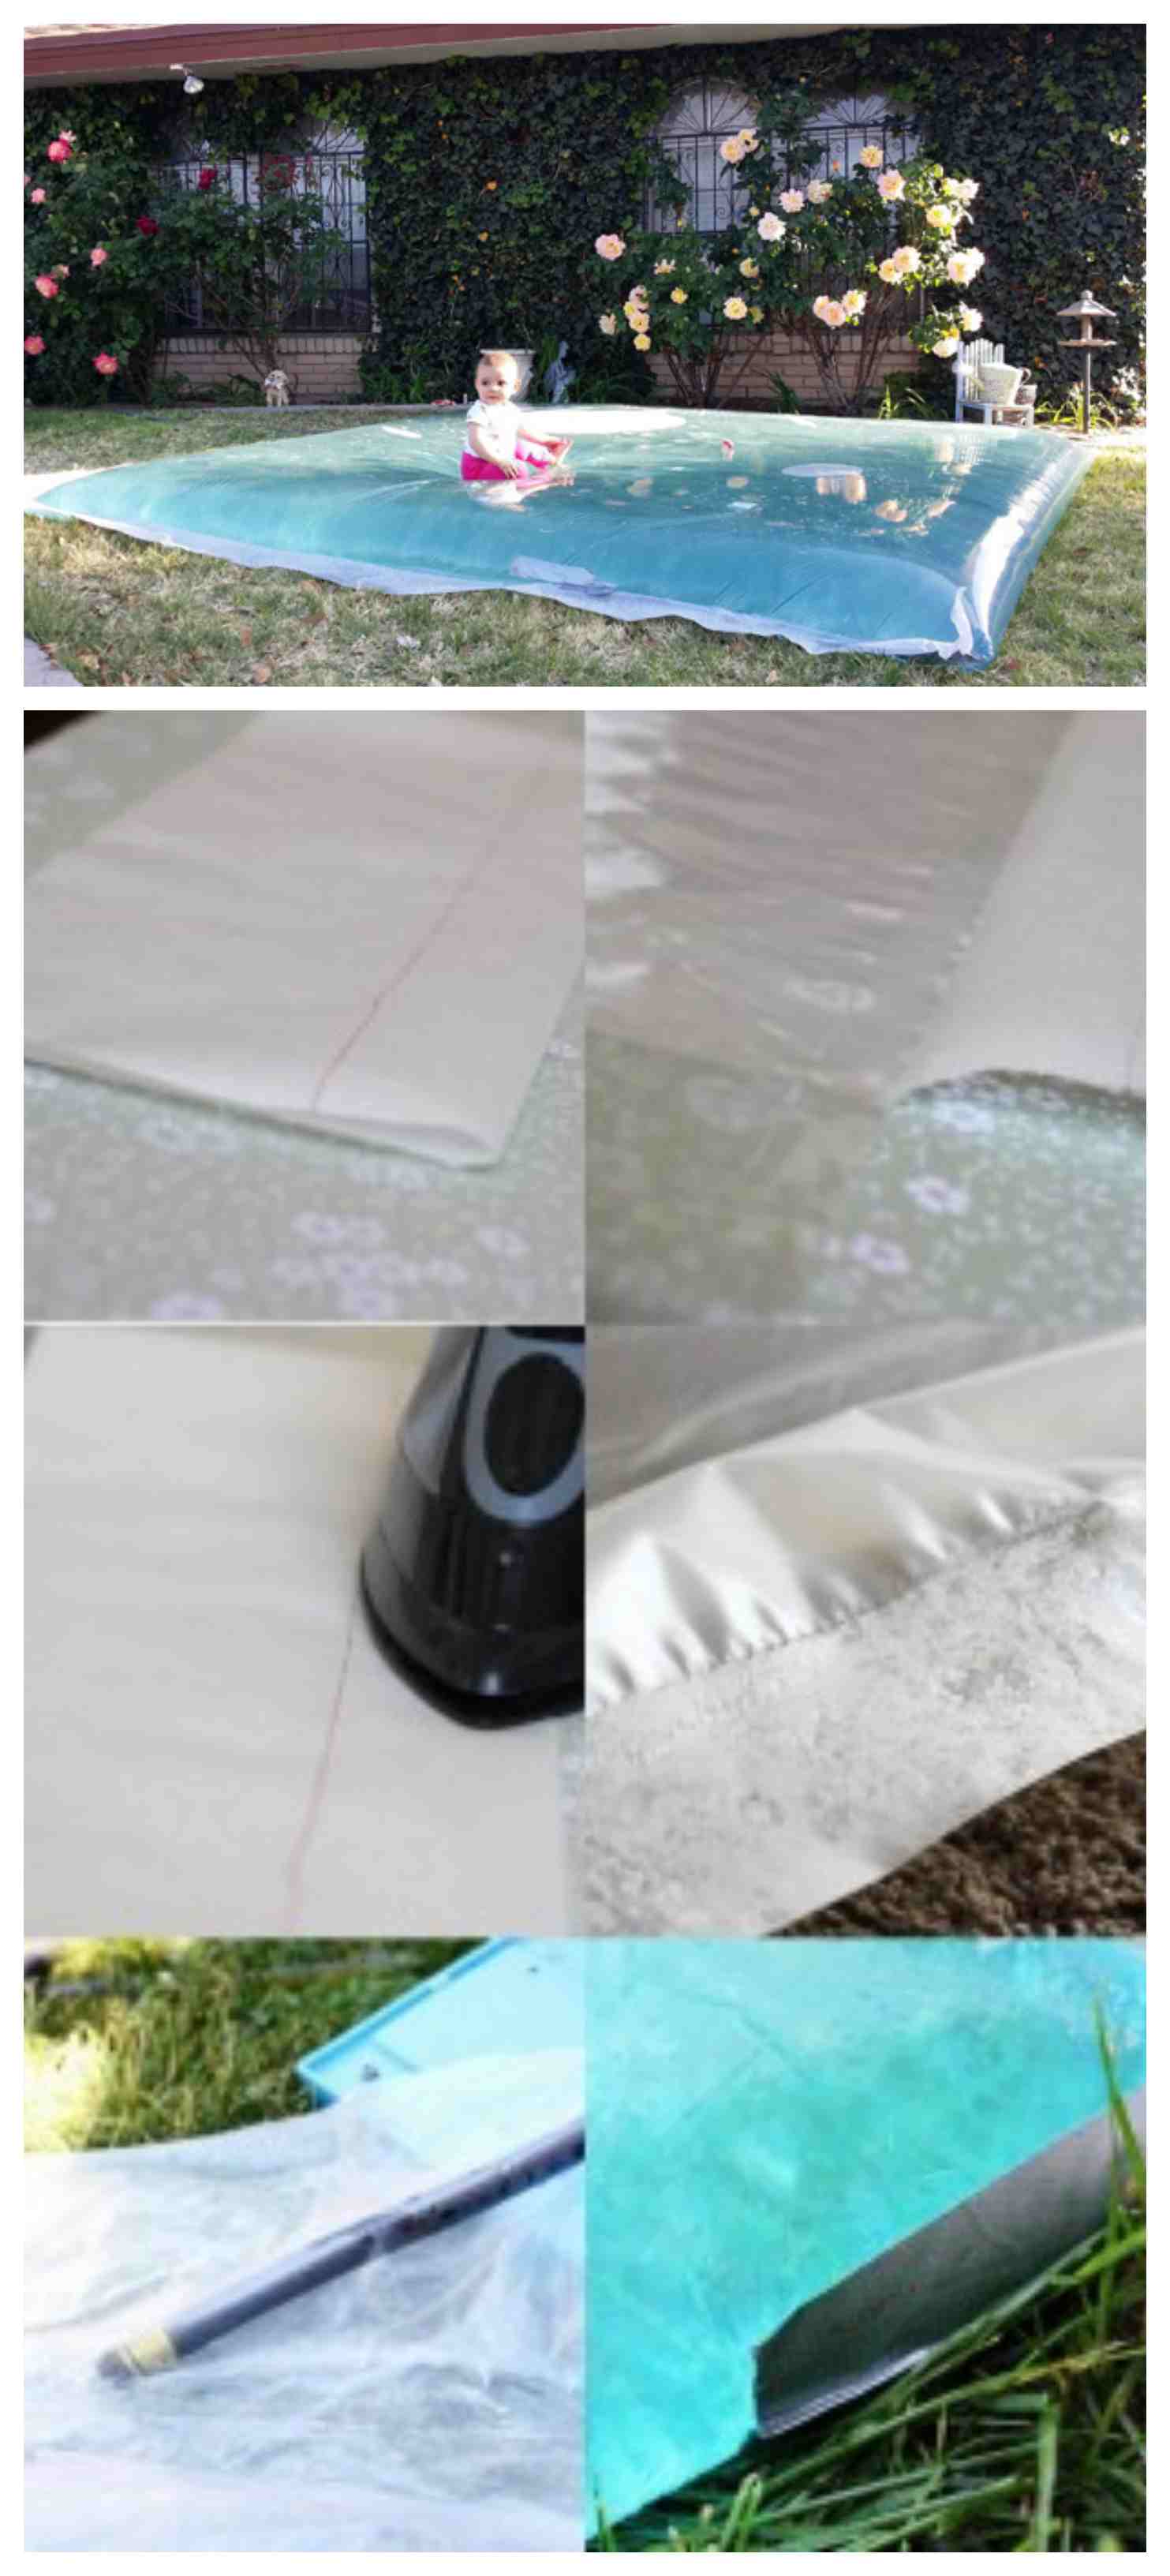
How to make a leak proof water blob (without tape)

This is how to make a leak proof water blob (without tape). Want to make one of these for yourself? Look like a fun way to keep kids entertained in one spot for a couple hours at a time? “It’s been sitting in our yard for 3 days now, with NO leaks–at all. And it only took about 20 minutes to get ready!” said the designer of this leak-proof water blob.
This blob is made by literally melting the ends of poly (painter’s plastic sheets) together with a hot iron. The melted plastic ends create a leak-proof balloon that can be filled with water. It takes little time. “I was done before ‘I Feel Better’ started playing on Doc McStuffins. For those of you without toddler girls, that translates to about 15 minutes,” said a blob maker.
How to build this creation: Heat up your iron (highest setting). It may be easiest to lay your ironing board flat on the ground (not up on its legs), because the plastic weighs a lot. It may even be easier to slide the ironing board along the floor rather than moving the plastic along the ironing board.
Do this in your biggest room: Fold the plastic sheet in half. You may need to modify the total size of the sheet if you want it smaller. When you fold it over, the edges should be lined up. They will also align themselves somewhat as you iron them together.
For starters, you need:
– An IRON and ironing board
– a sheet of plastic (poly or painters sheet). Any size, but the photos are of a 10×25 roll cut down to 10×20. THICKNESS: 4 Mil.
– parchment paper (recommended: cut to approx. 2-ft long)
OPTIONAL: duct tape (to seal the hose hole)
Do this:
PLASTIC – roll it out in a big room, and fold it in half (to the size you want).
IRON – highest setting. You might want to keep the ironing board flat on the floor (stability). You may want to slide the ironing board across the floor rather than moving the plastic, even.
PARCHMENT PAPER – this is your measure. It shows you how far to iron into the plastic. You lay it under the edge of the plastic and iron that far up.
IRON the plastic that far up. Don’t iron too much (don’t melt the plastic too much). You can always re-iron (re-melt) the plastic if it isn’t enough. Don’t press too hard (but press firmly). The plastic will stretch when hot.
Let the plastic cool a few seconds and remove the parchment.
GO ALL THE WAY AROUND, but you don’t need to iron the folded edge–it’s already connected.
Cut a small hole in the folded part of the plastic. Place the hose in, and prop up the corner (so water doesn’t drain out). Fill it with water (can take half an hour). Add food coloring if you want. Seal hole with duct tape (or use iron to melt).